Venus Arm assembly manual
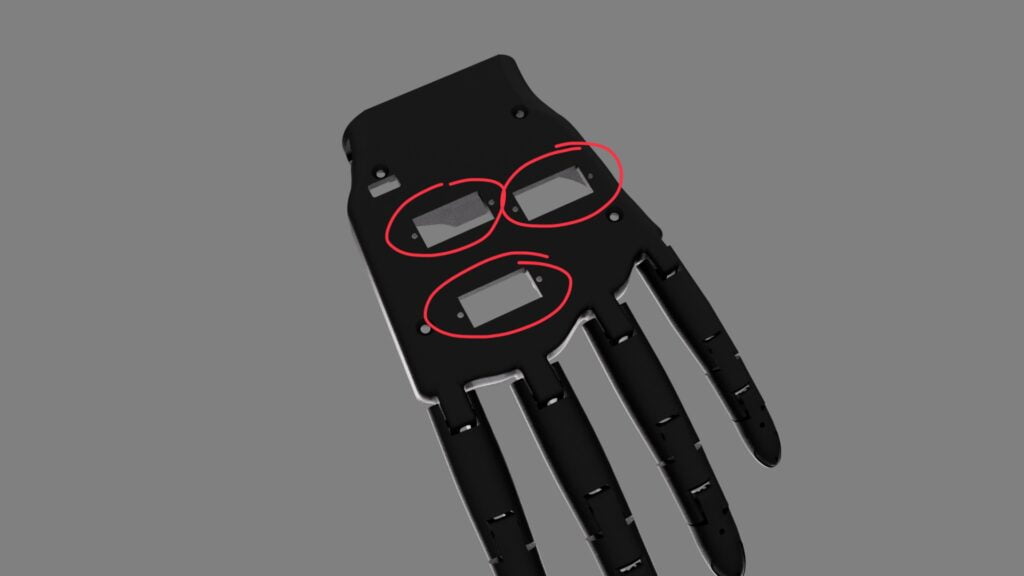
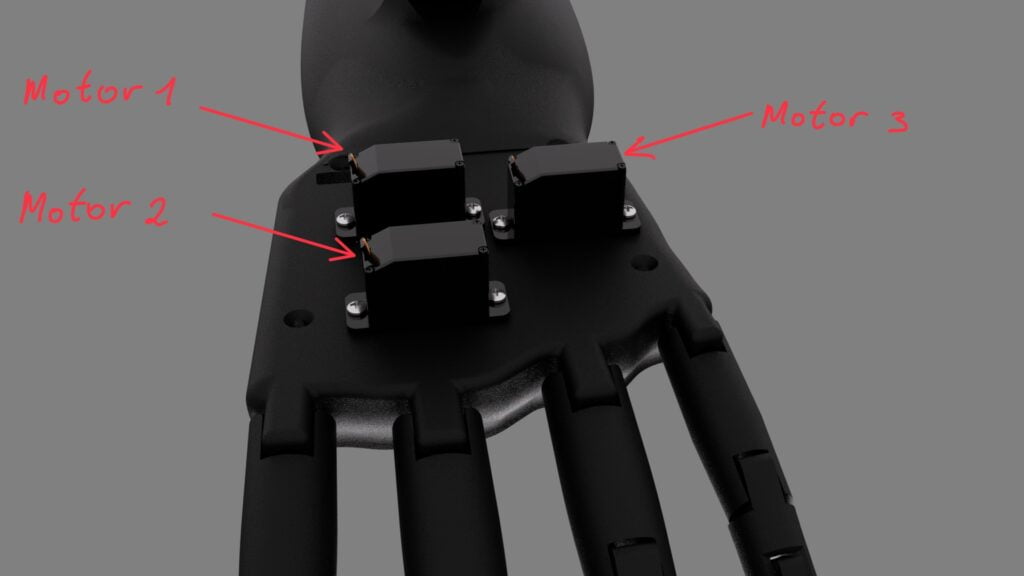
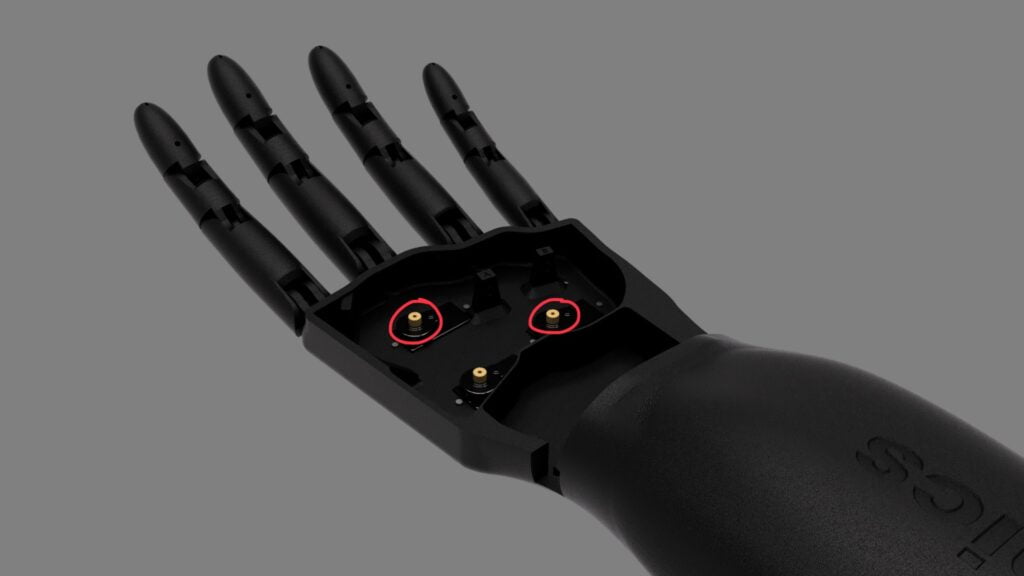
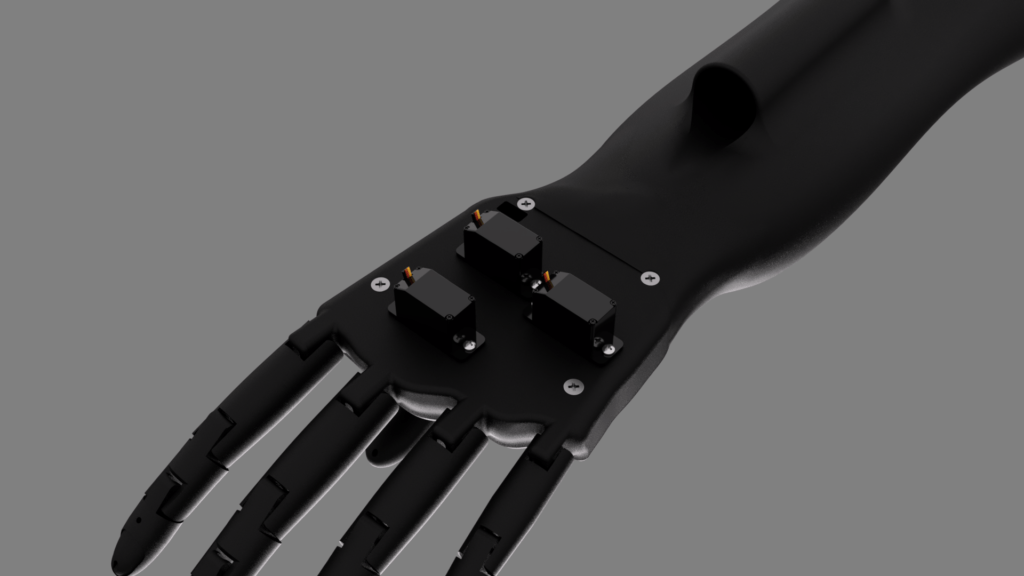
Insert the motors as shown in the image
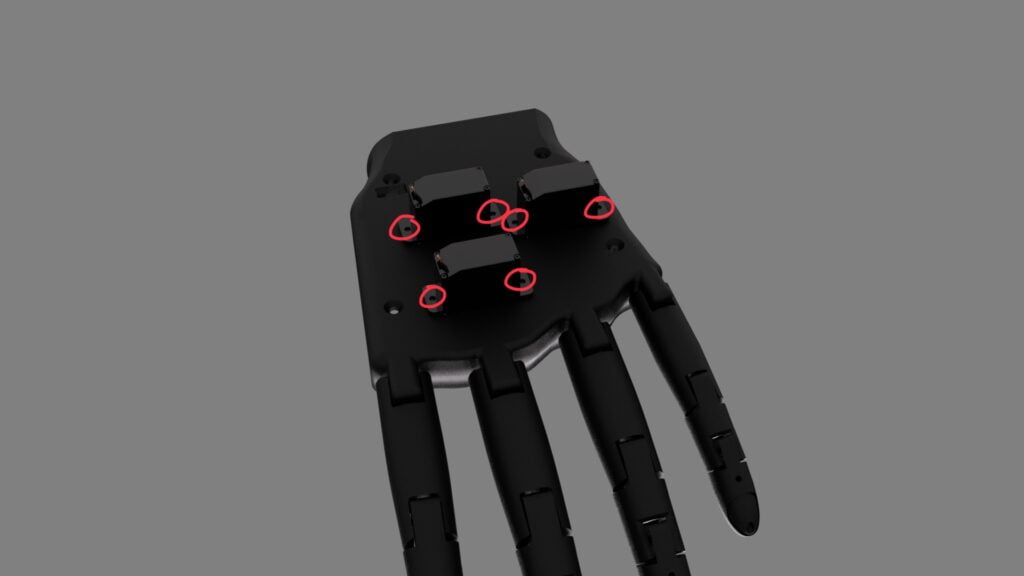
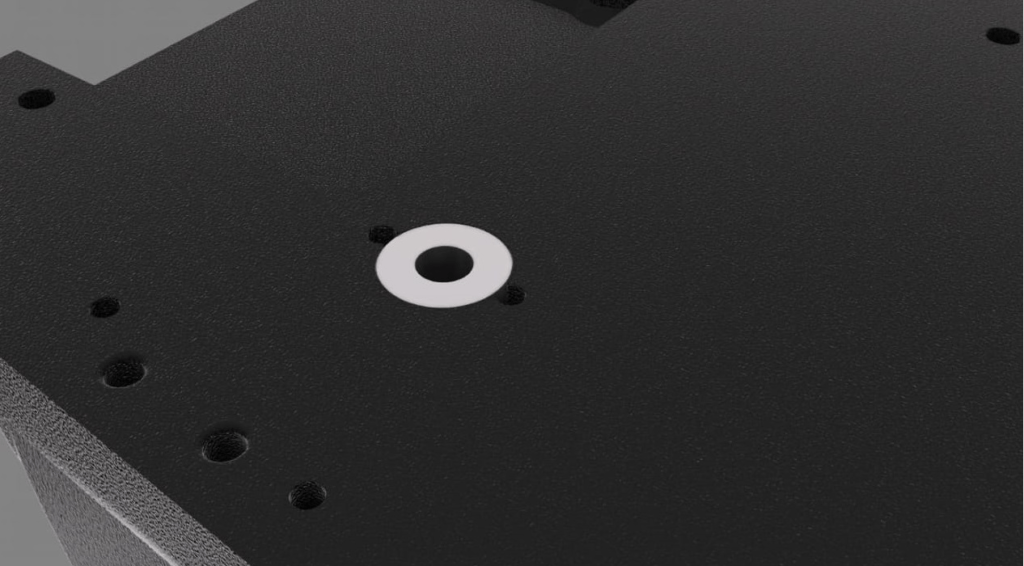
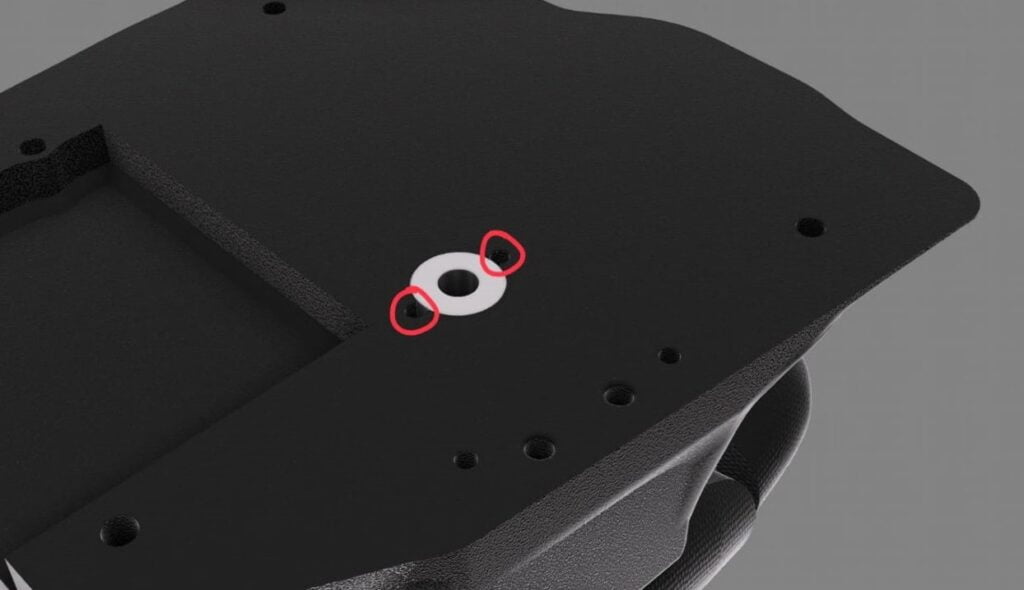
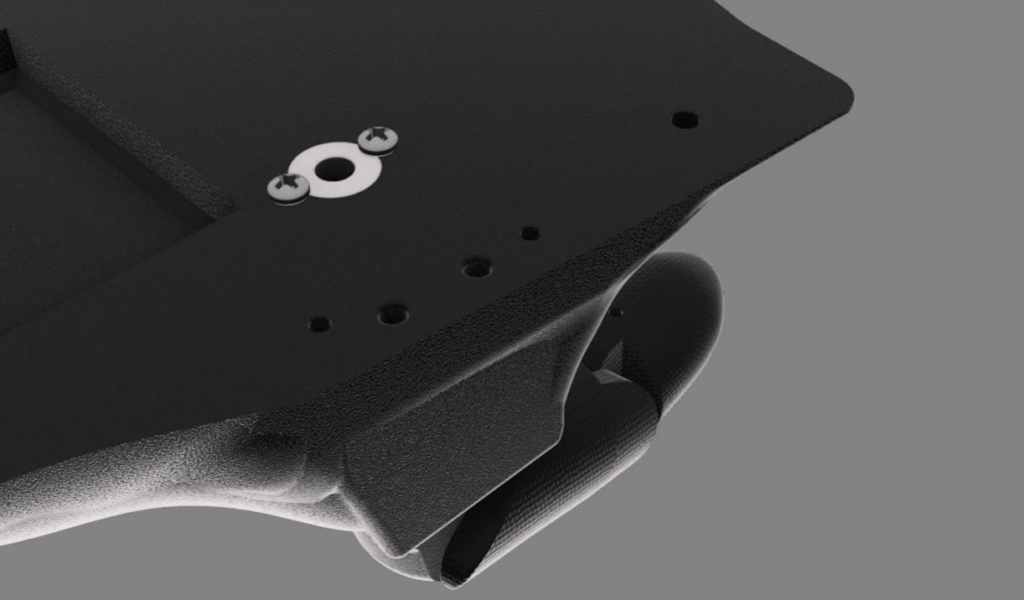
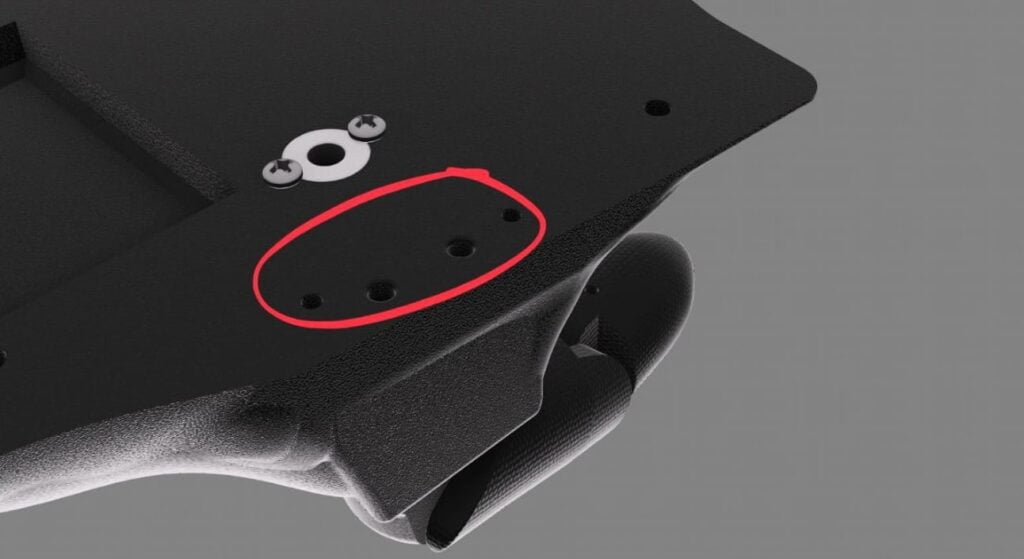
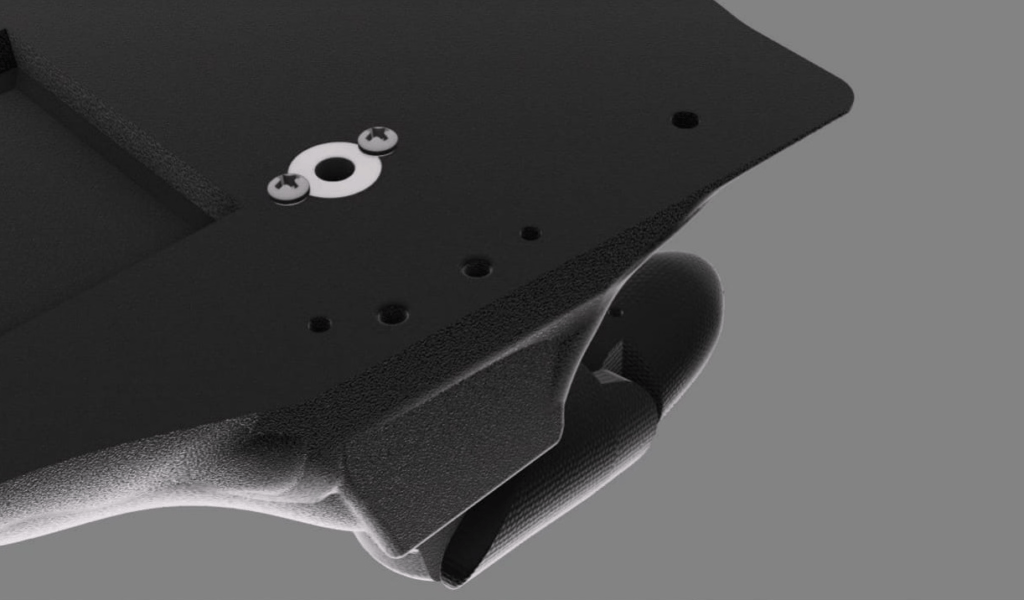
secure it in place with two M2 8mm screws, put them as shown

Put the motor screws as shown in the image
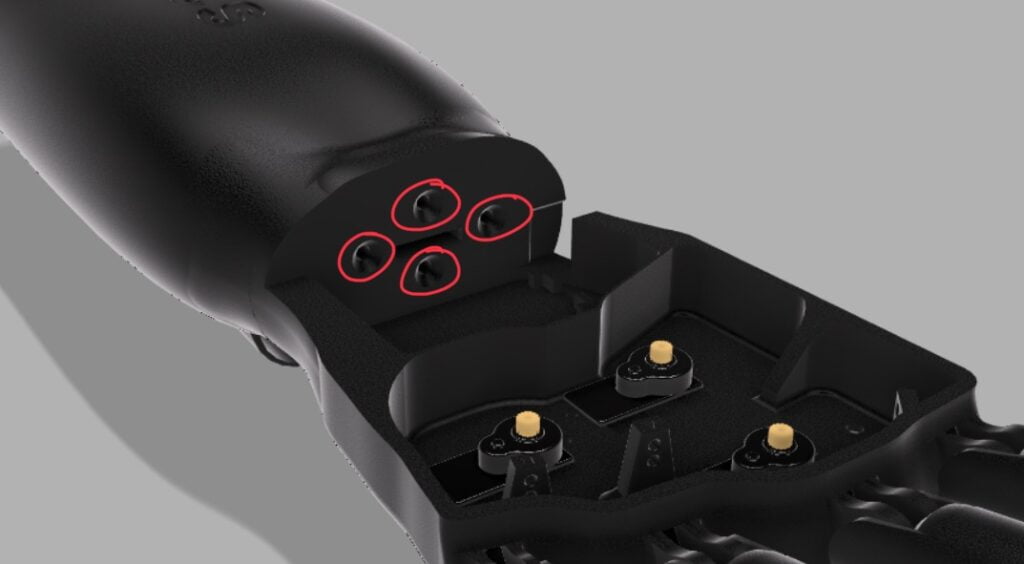
Attach the forearm to the back side as shown here
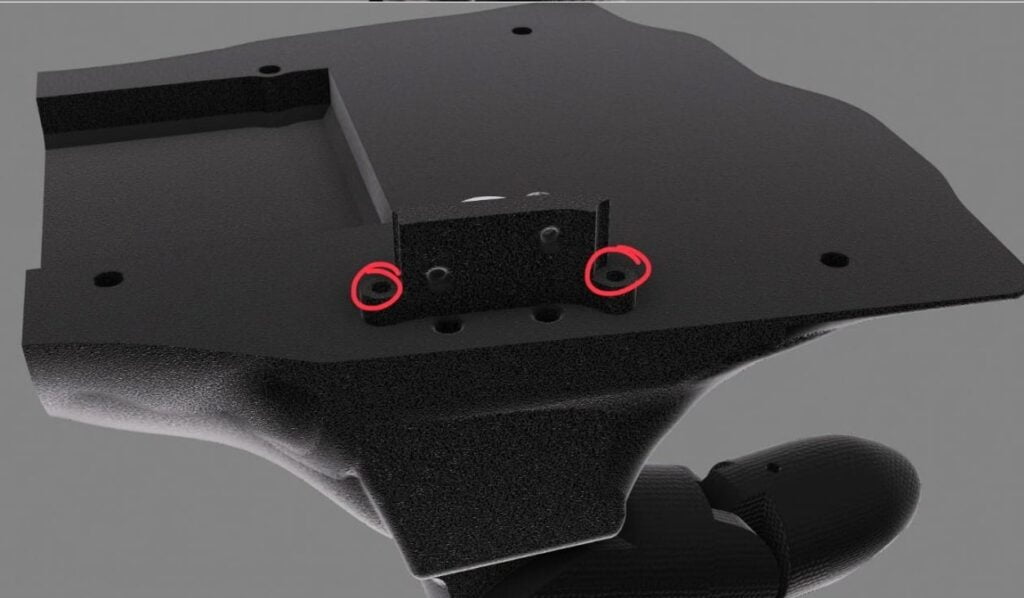
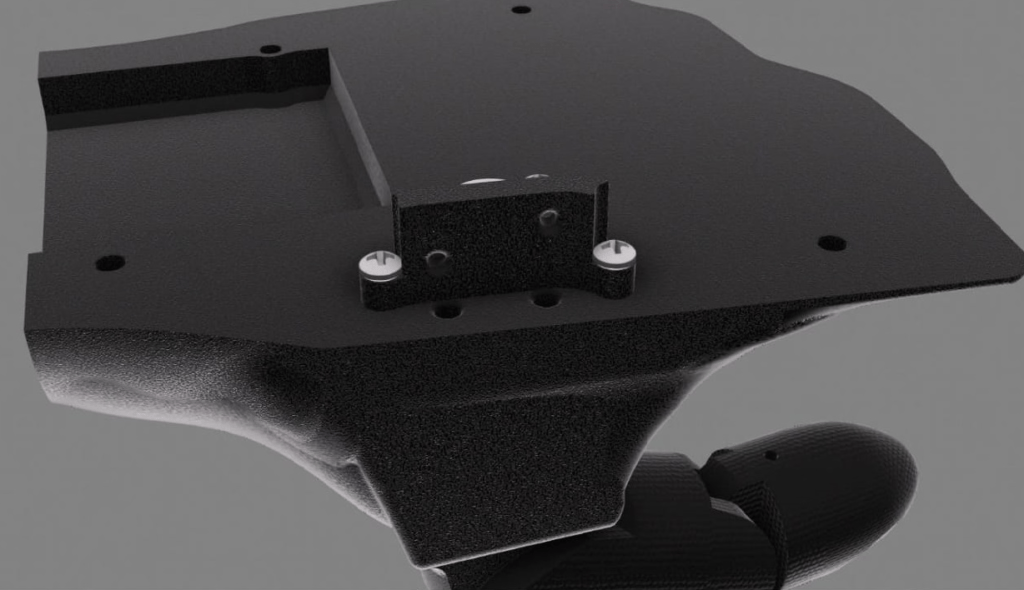
Insert the 3M 10mm screws
Cut the connector as shown
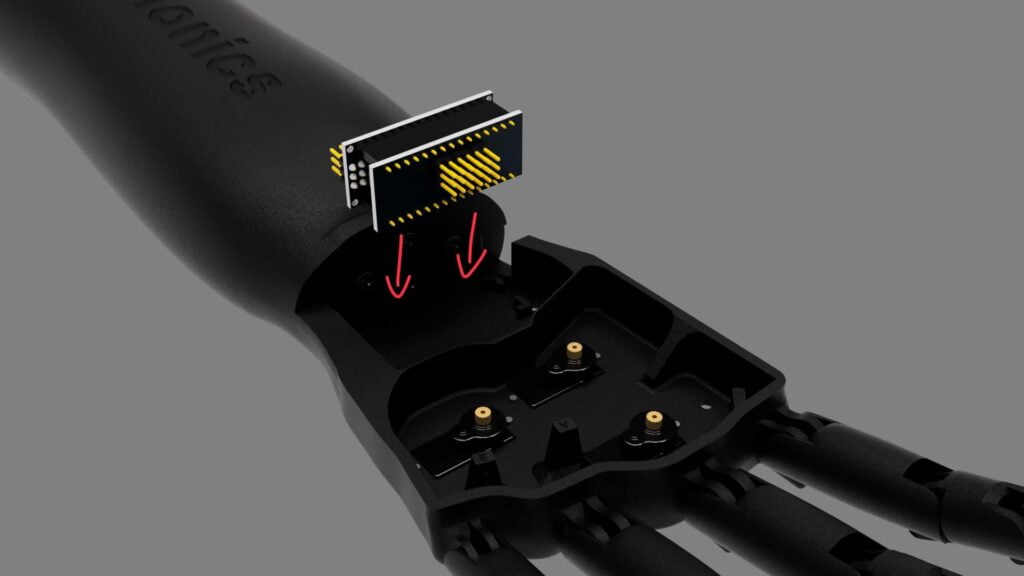
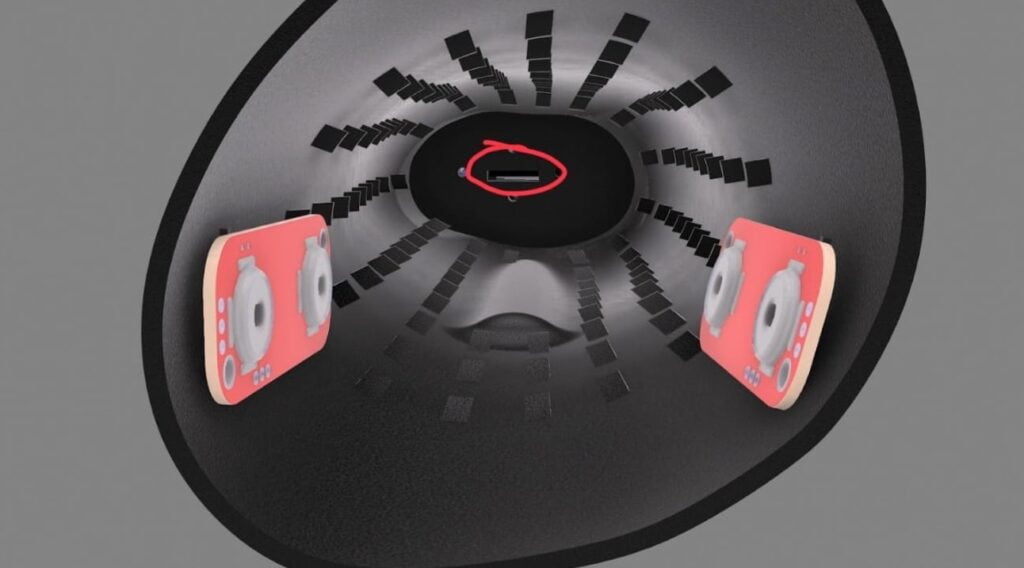
Insert the electronics as shown in the image
Now insert the wires of the motors through the cavity
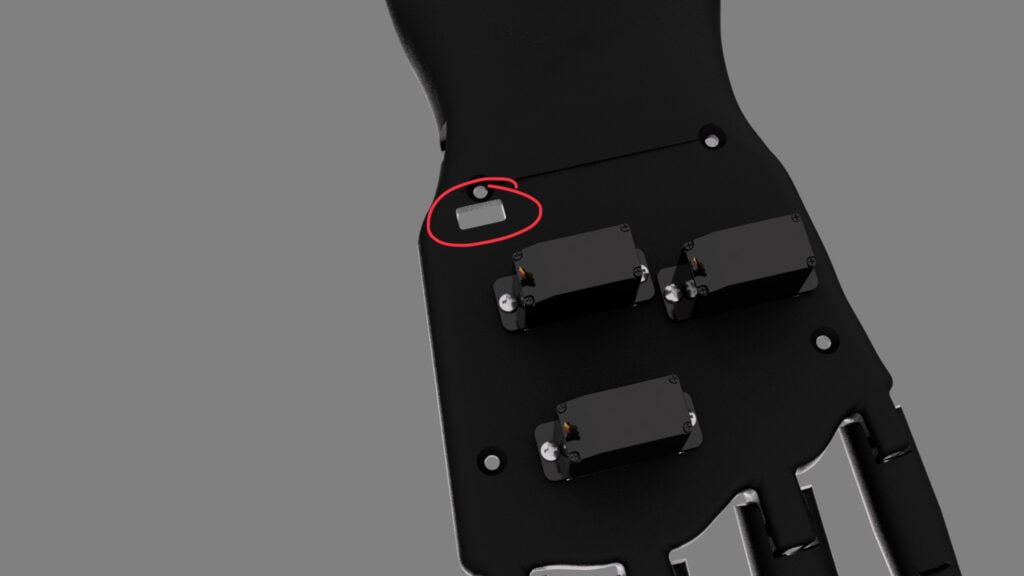
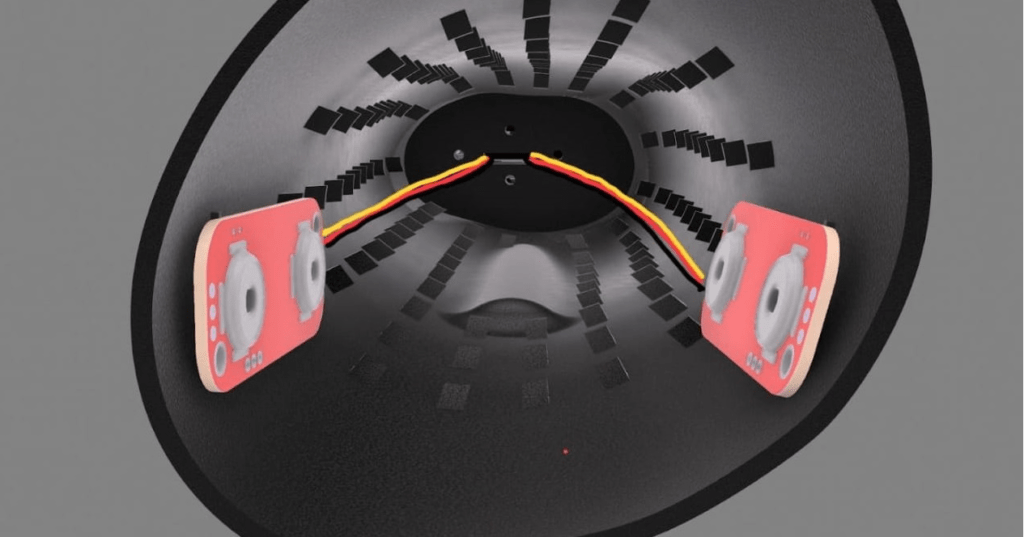
Solder the connectors to the sensor
Position the sensor(s) as shown
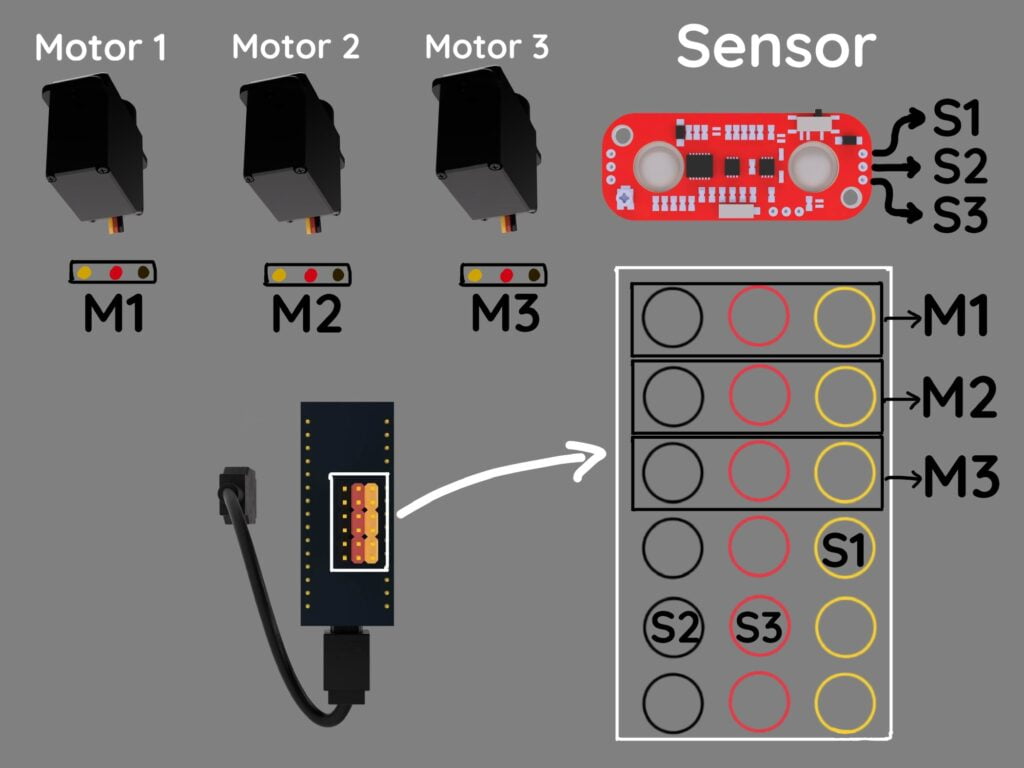
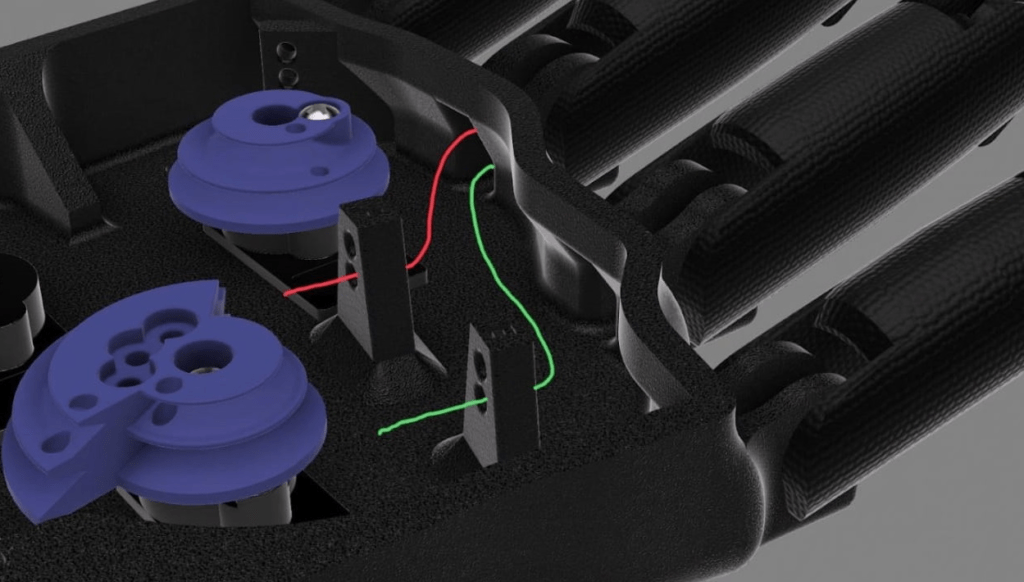
Connect each motor and sensor as shown
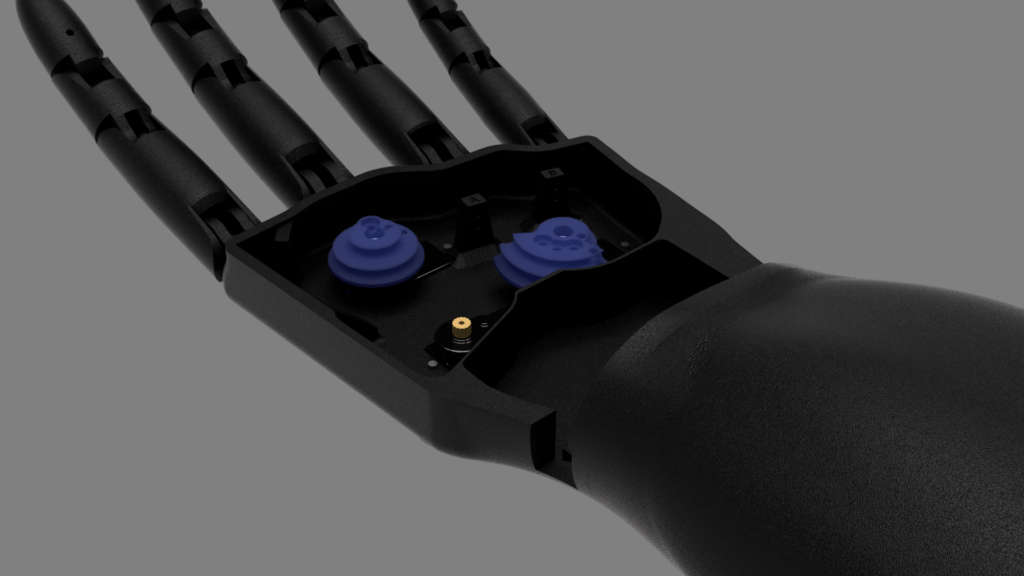
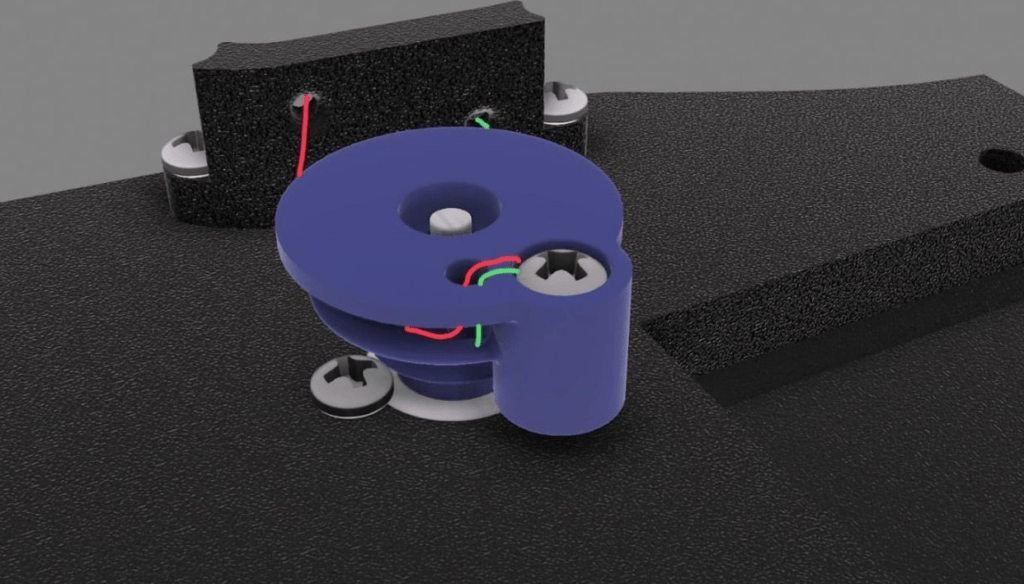
Cut the servo pulley, then glue it to the main pulley
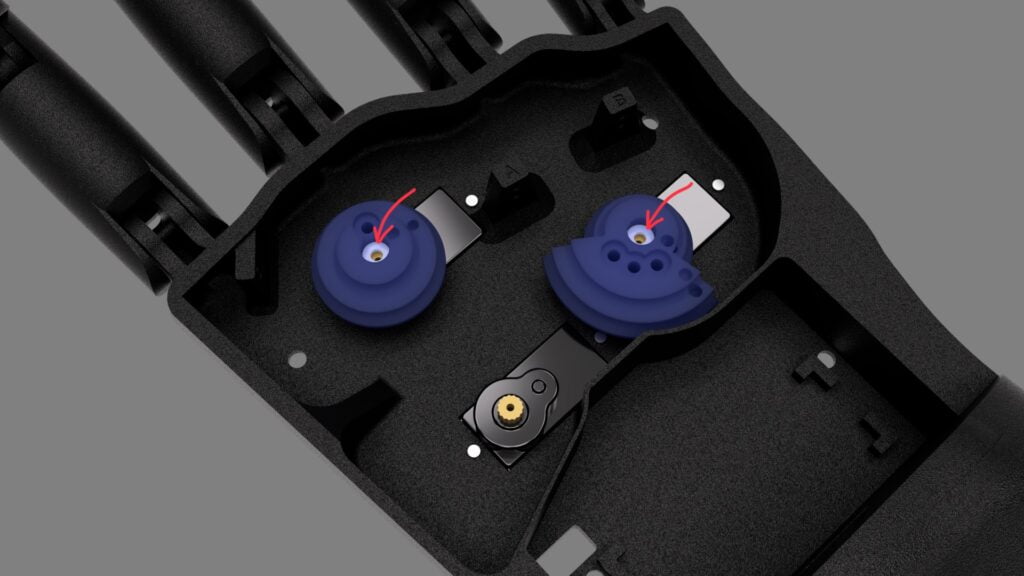
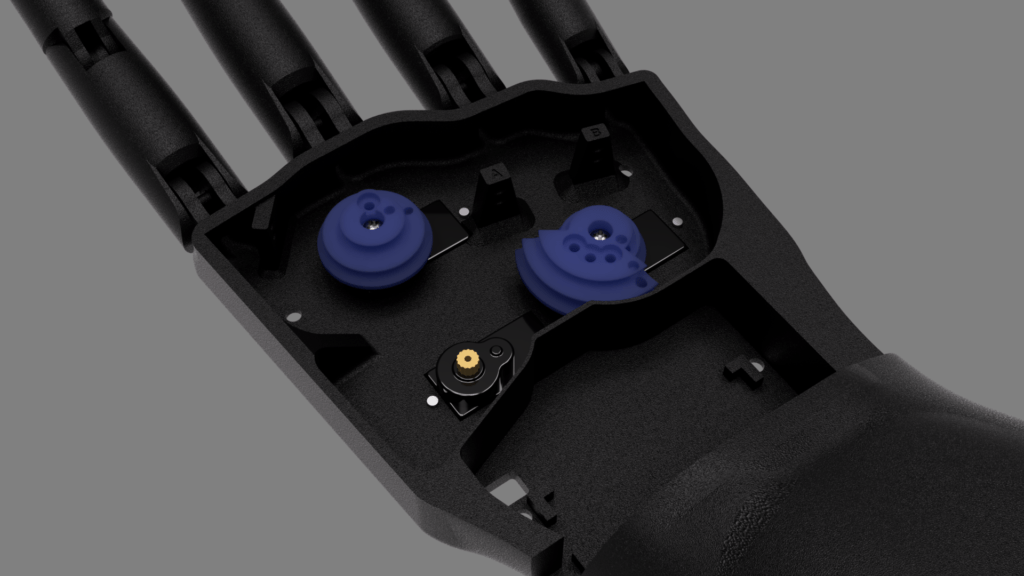
Put the pulleys in this position
After this you can rotate the pulleys through the assembling process if you need to.
Put the pulley screws as shown.
Index finger
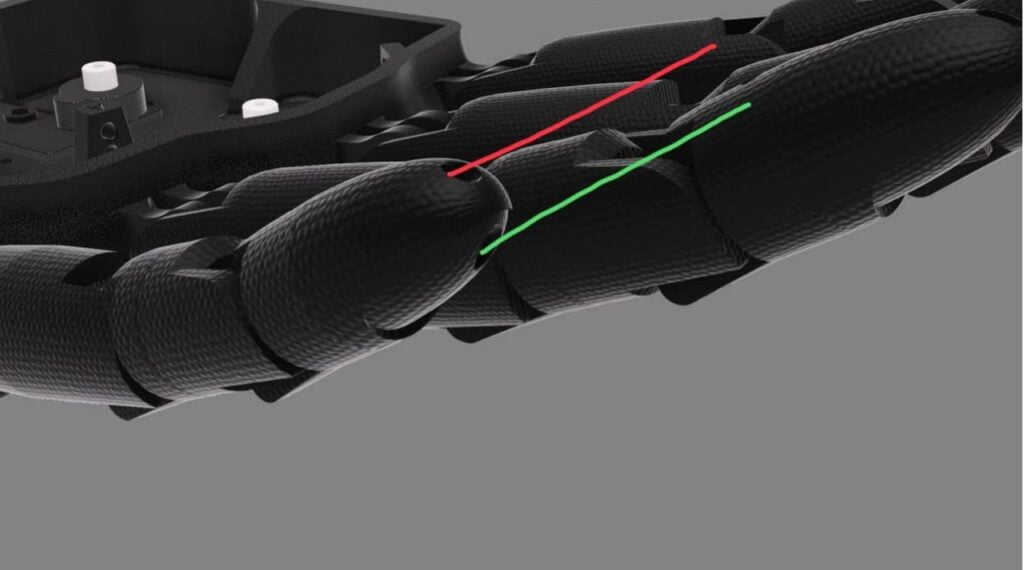
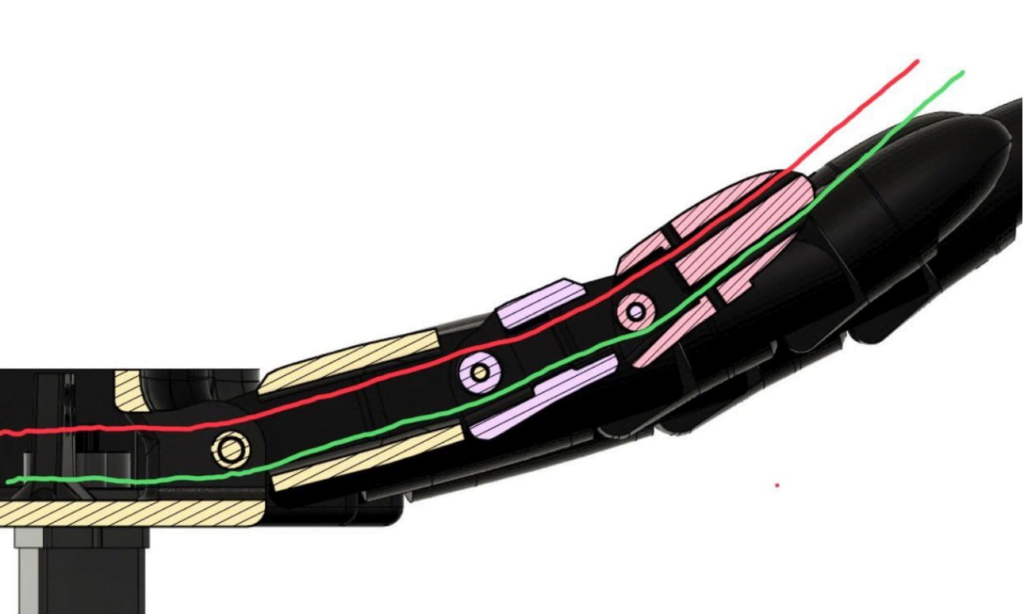
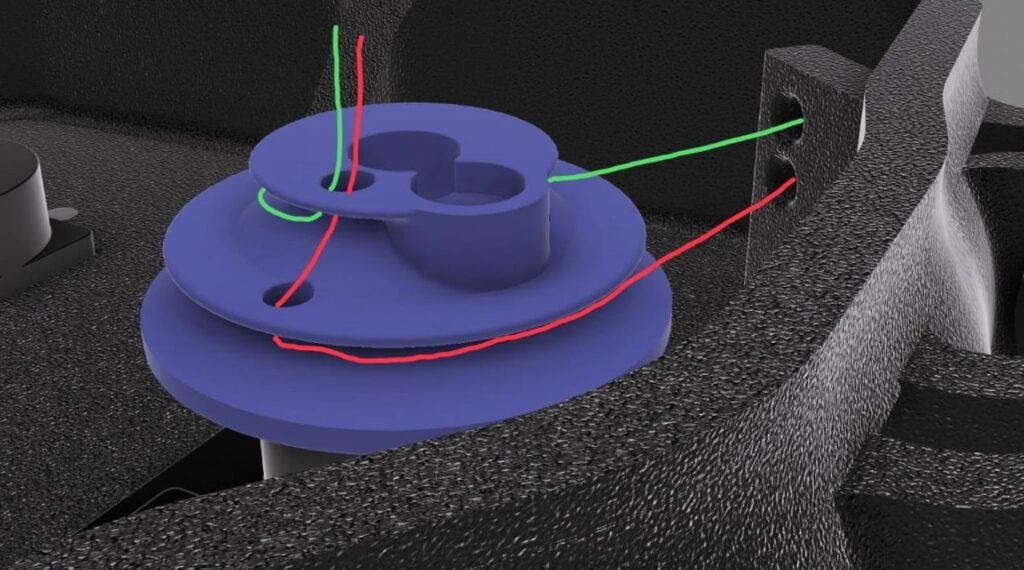
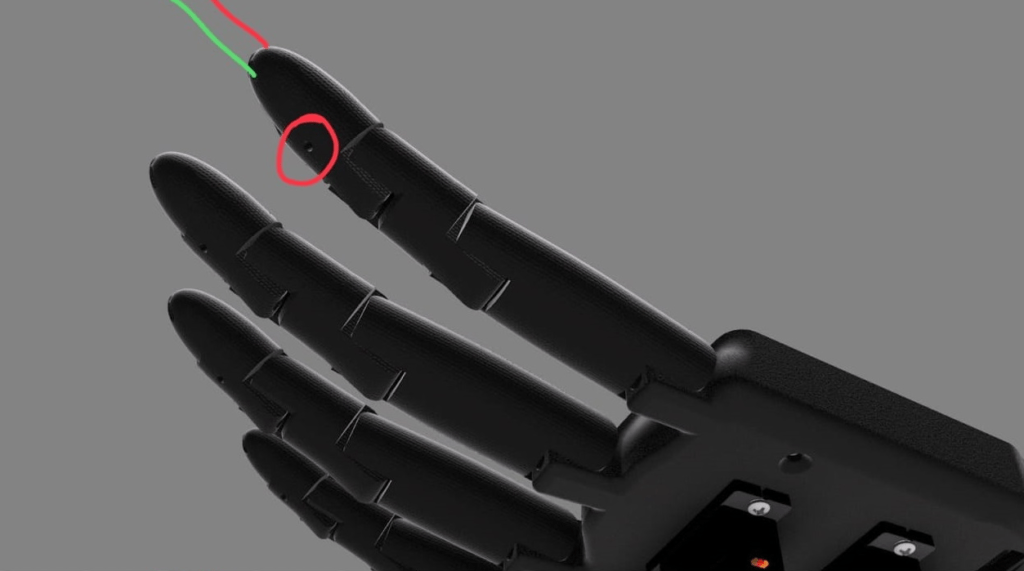
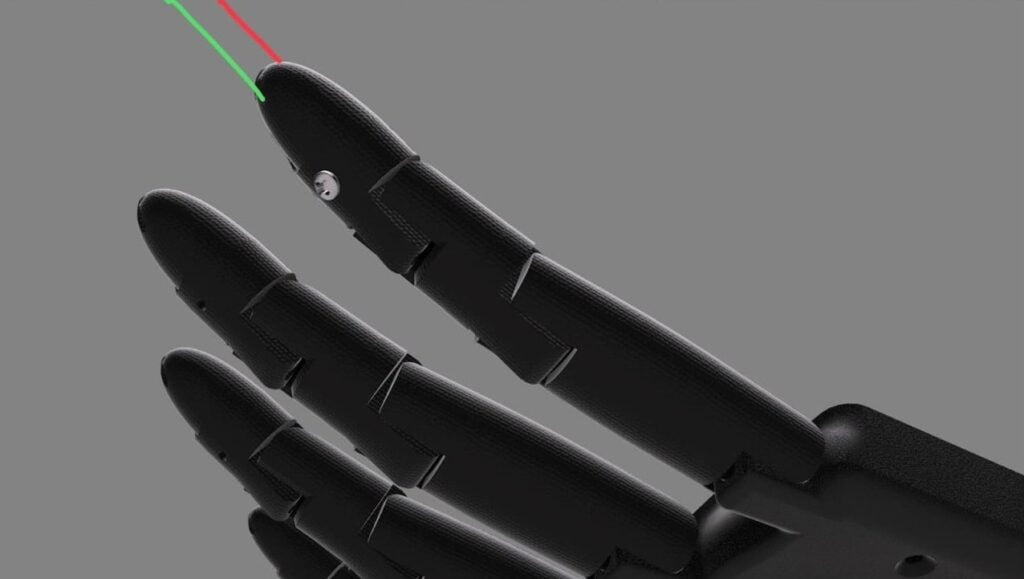
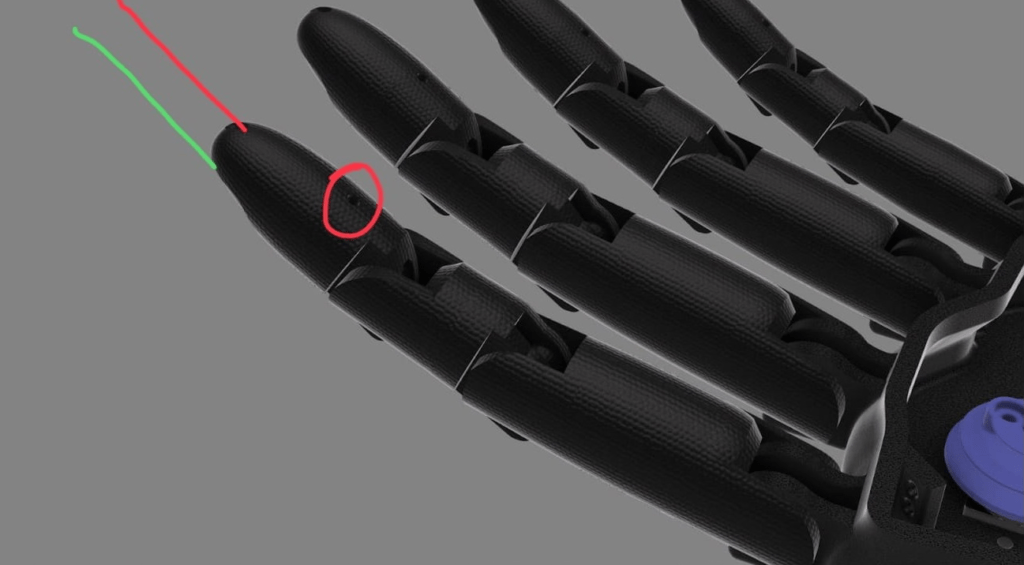
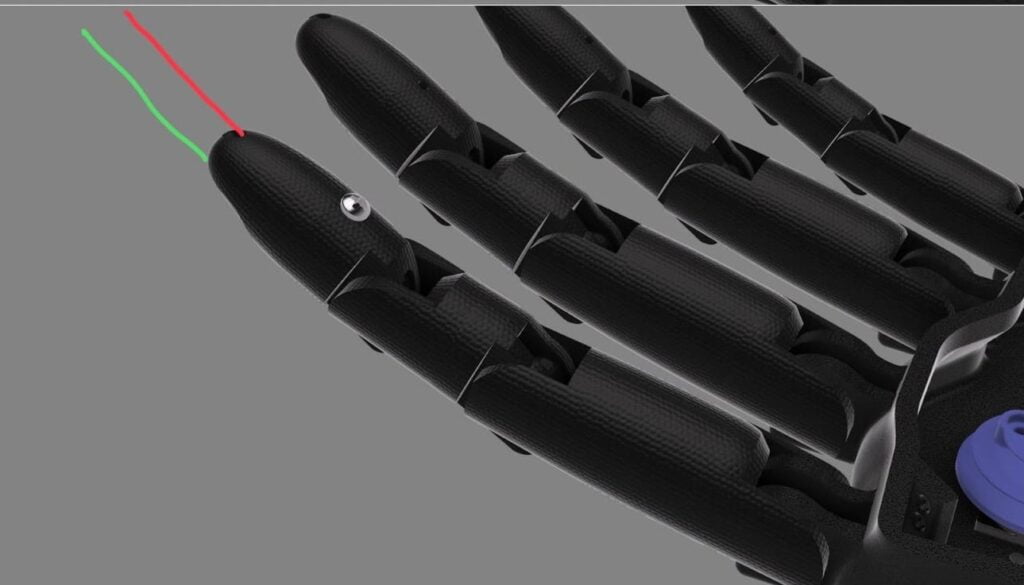
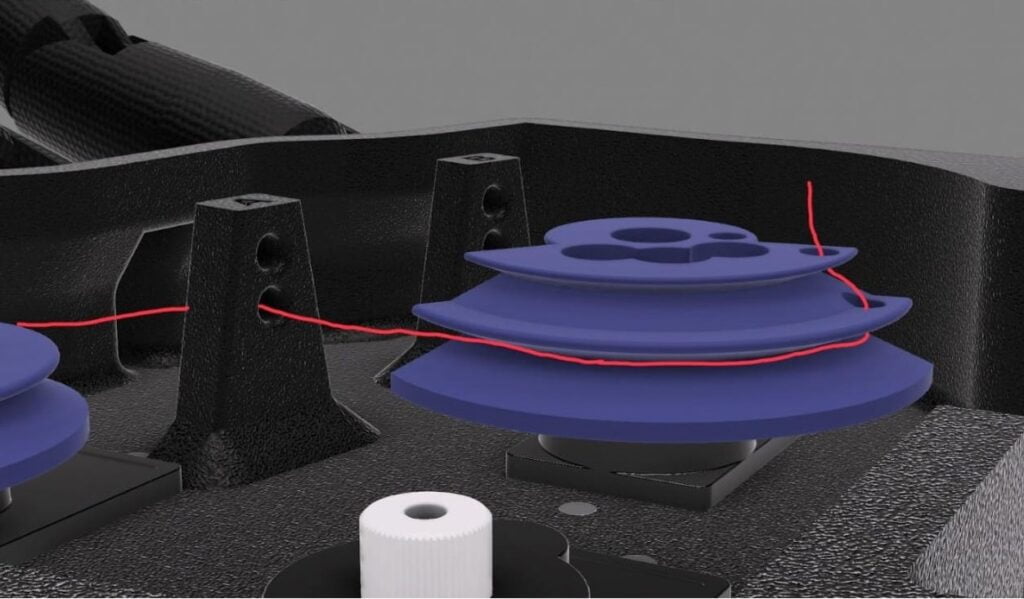
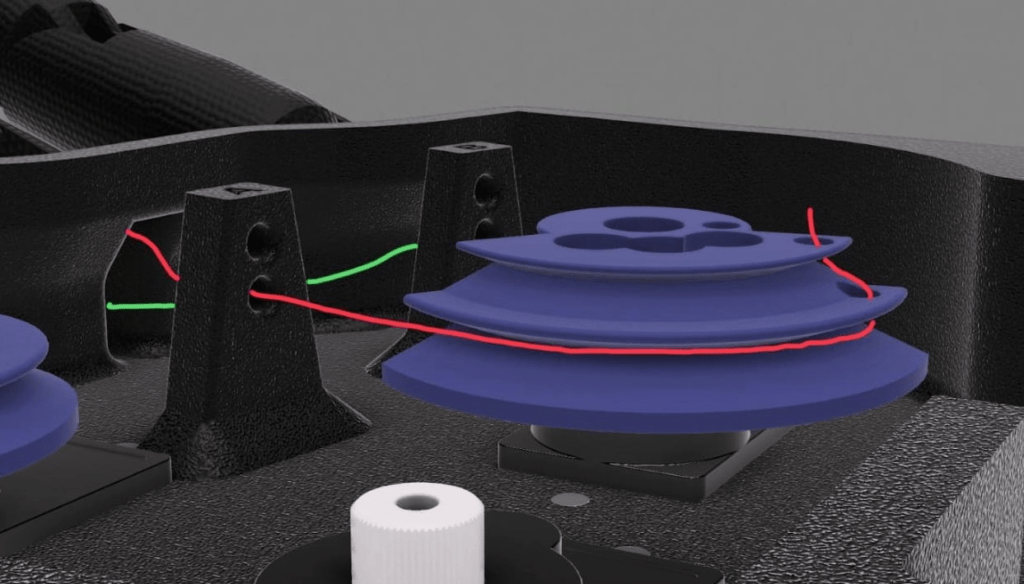
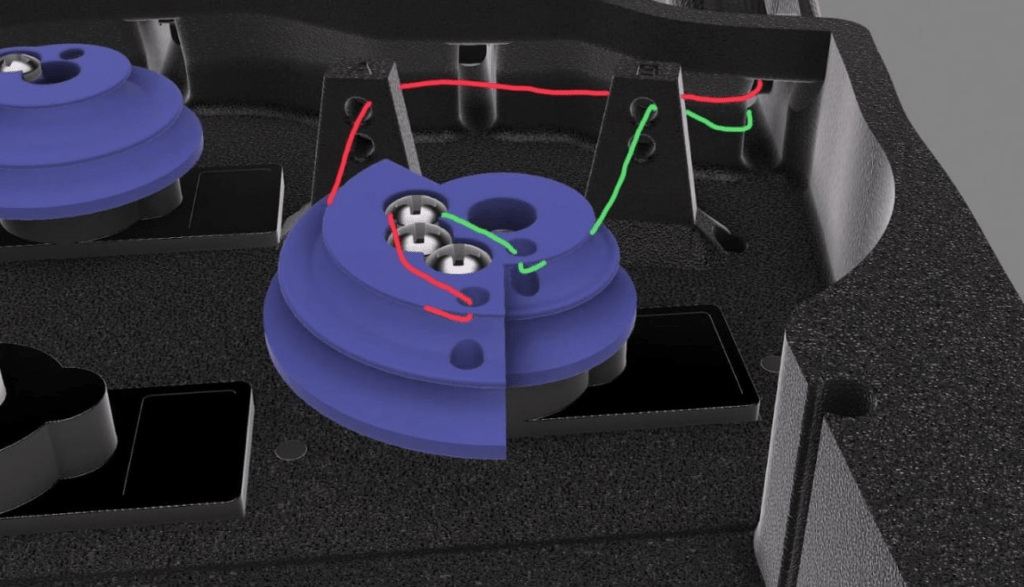
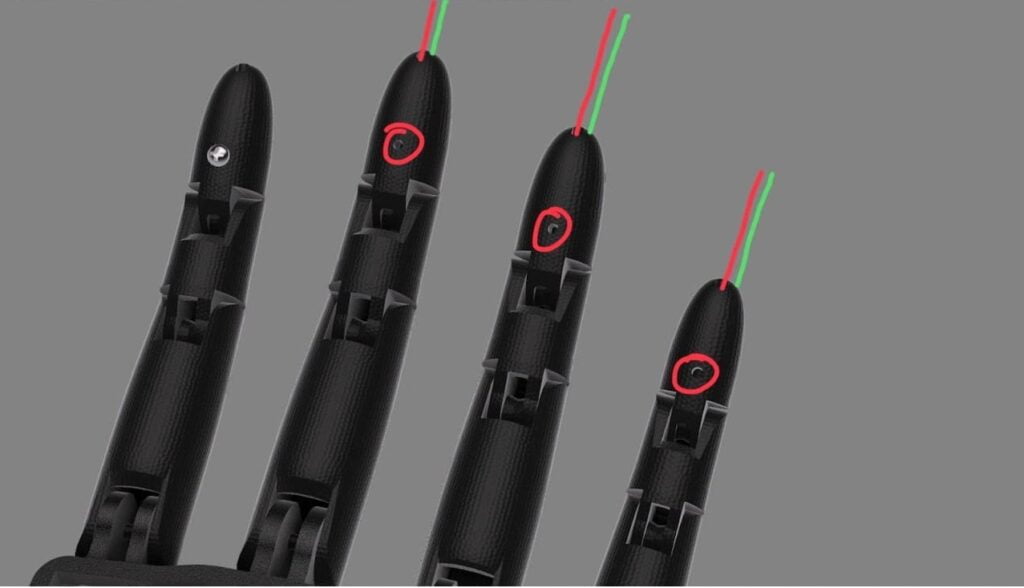
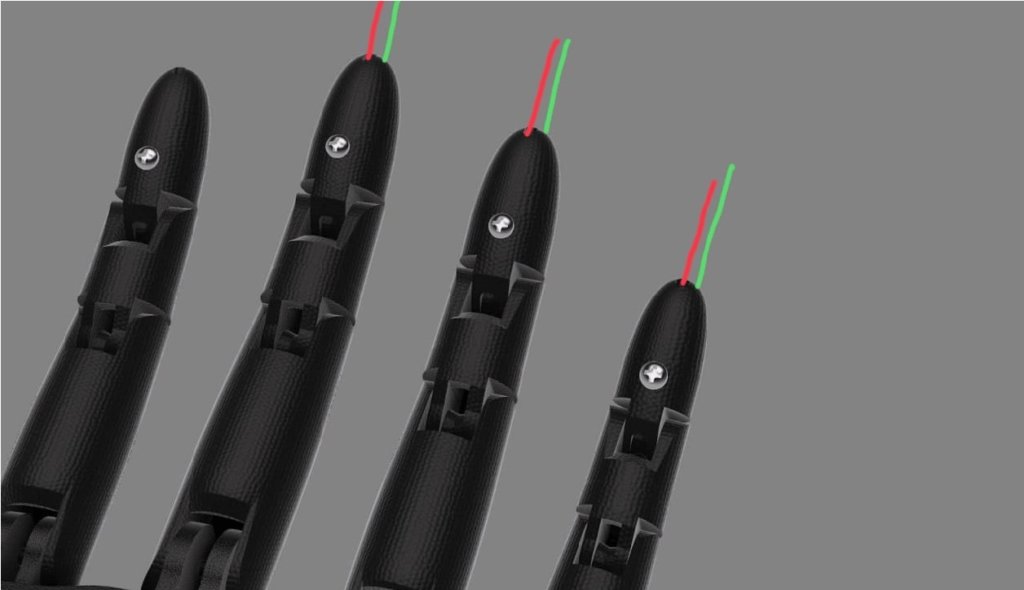
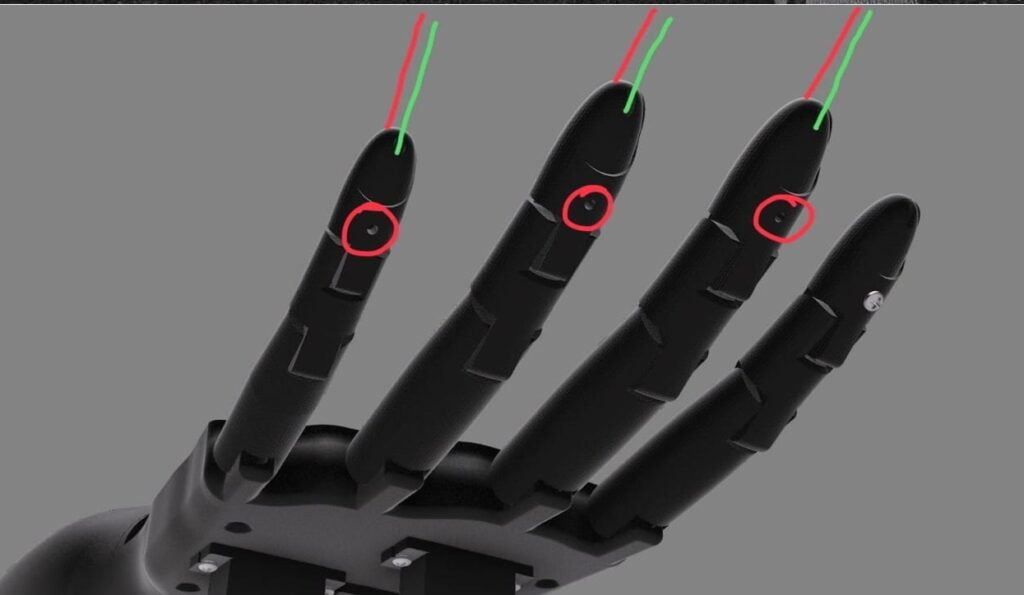
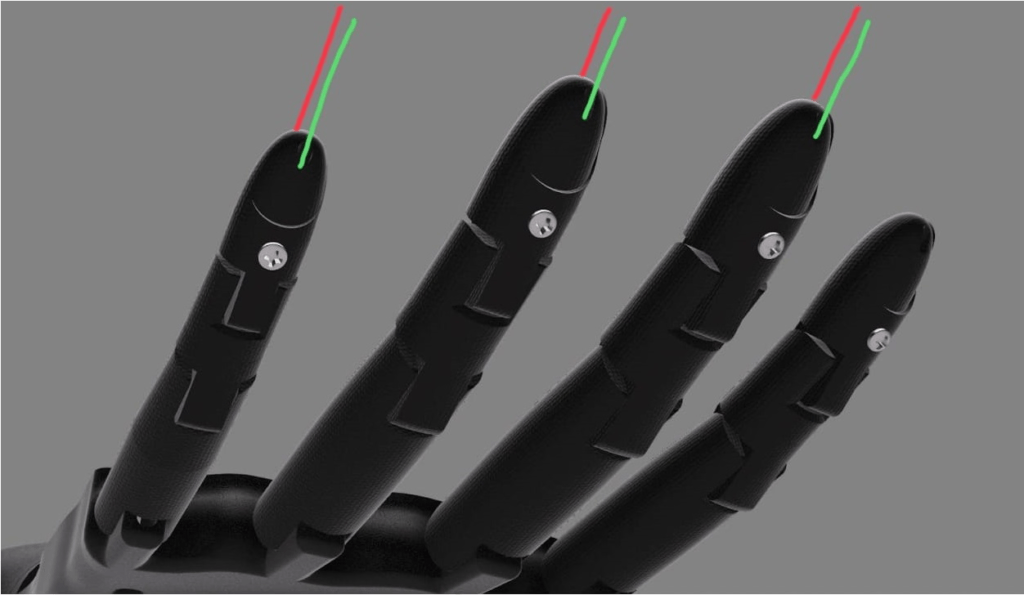
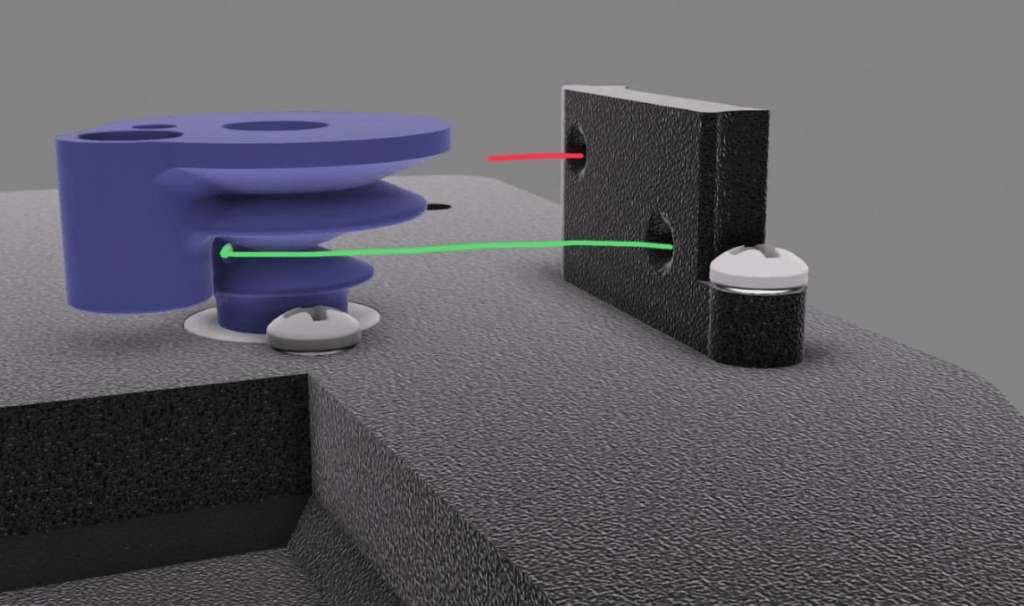
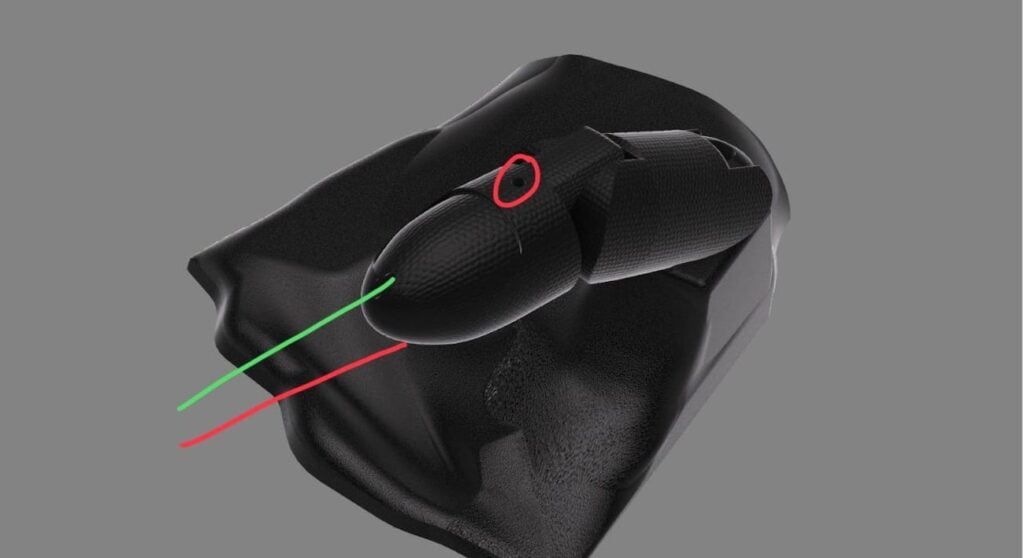
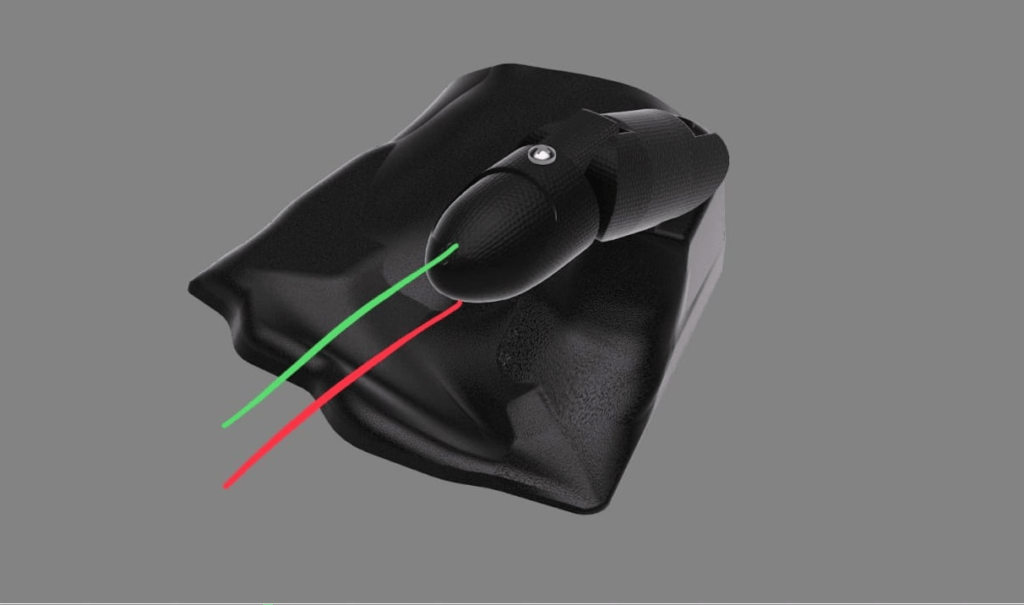
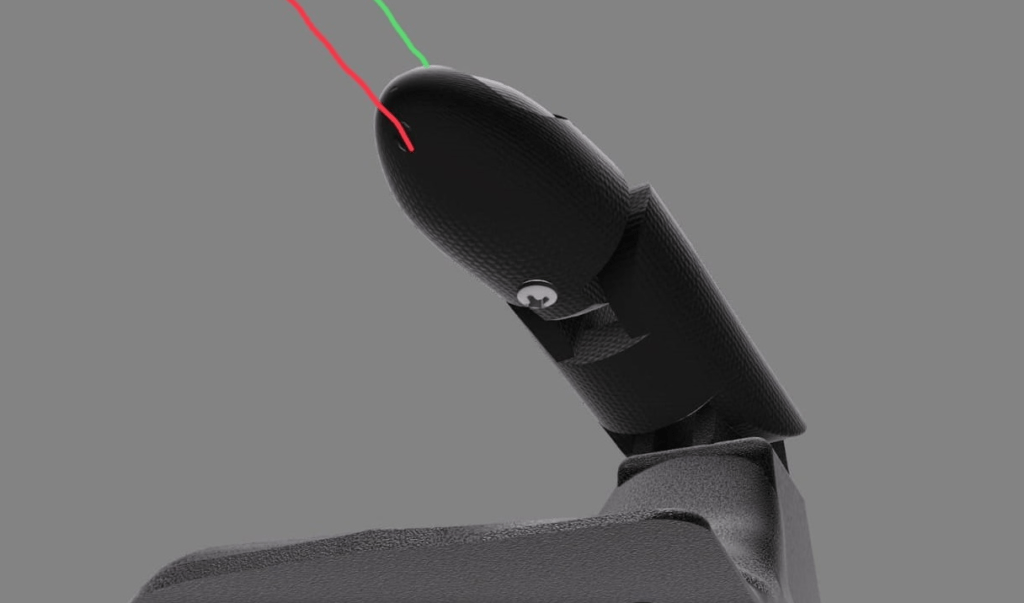
In each finger there should be two lines, one to close the finger and one to open the finger (red line represents the line for closing the finger, the green line represents the line for opening the finger)
Put the two lines in the holes on the tip of the finger, as shown
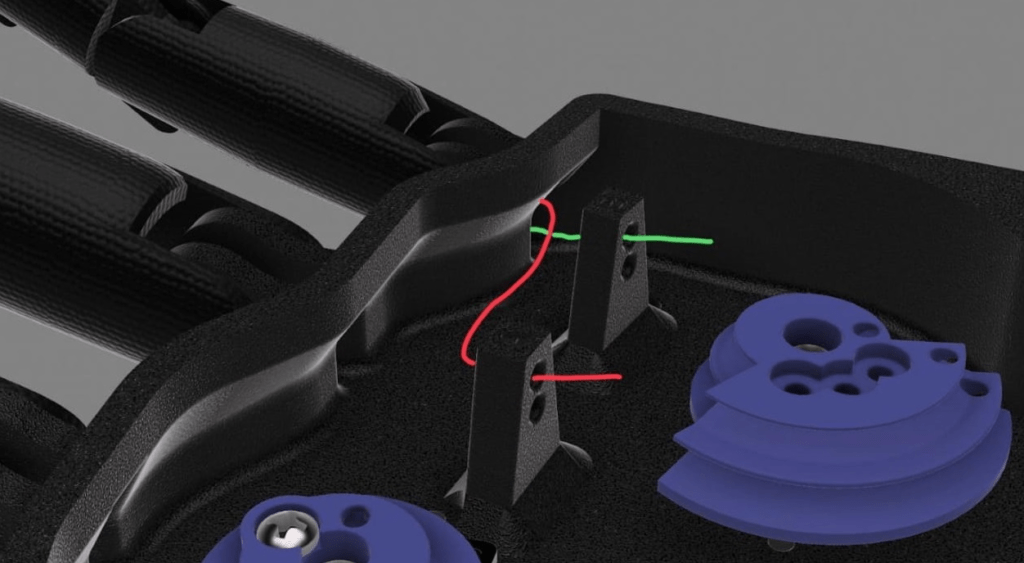
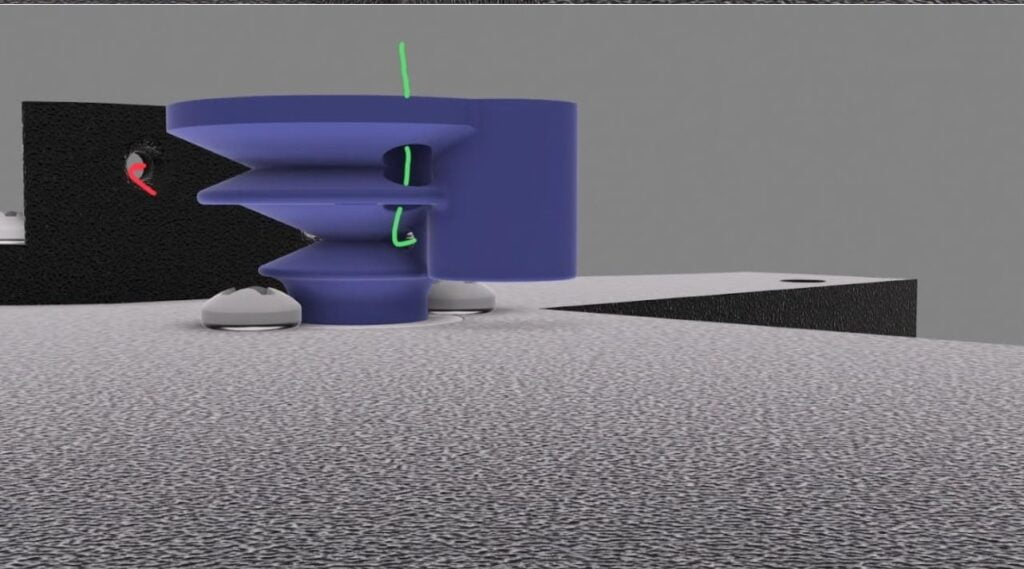
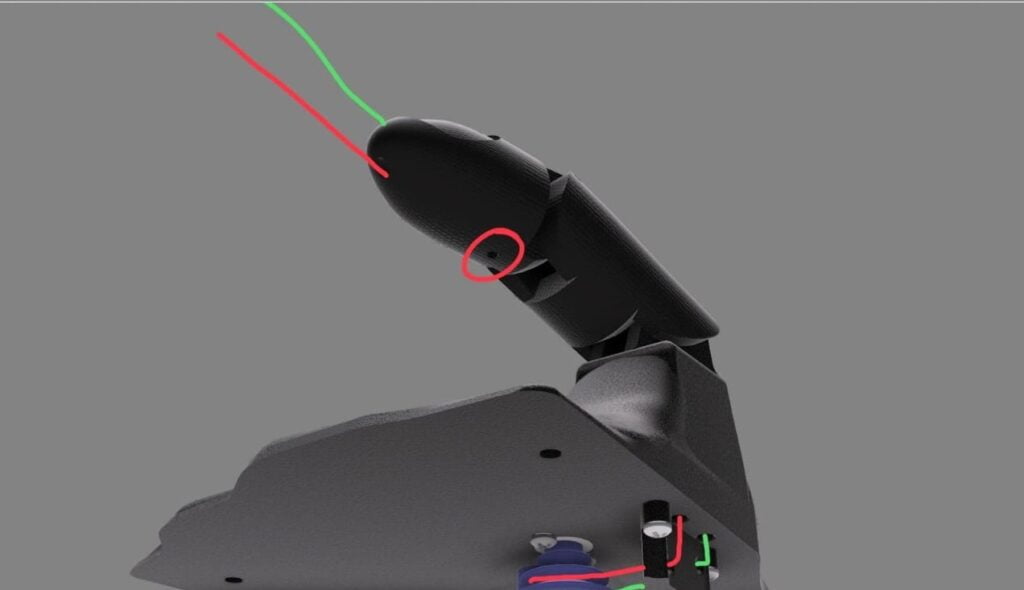
You should push the line till they come out on inside the the hand, they should look like this inside the finger
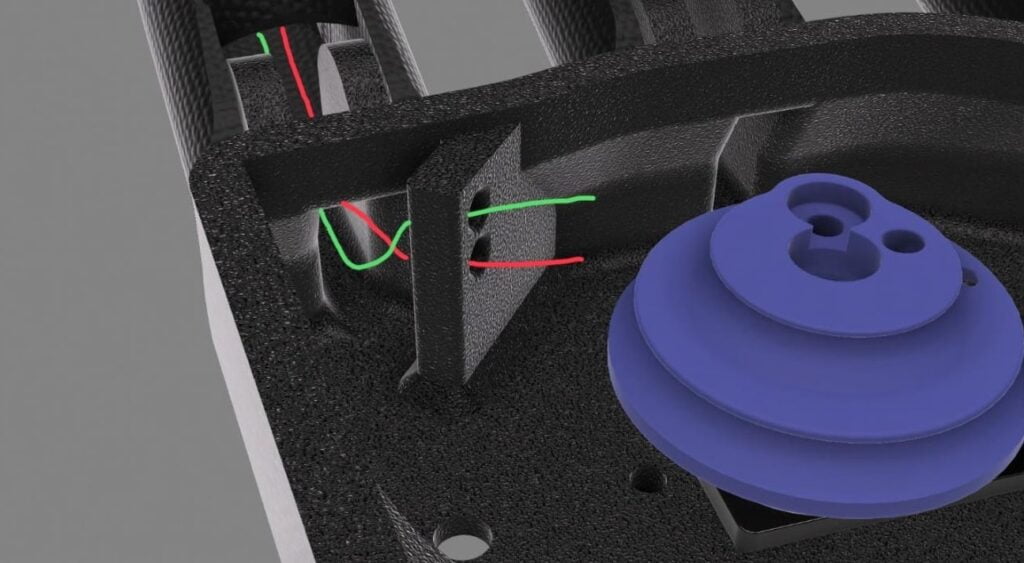
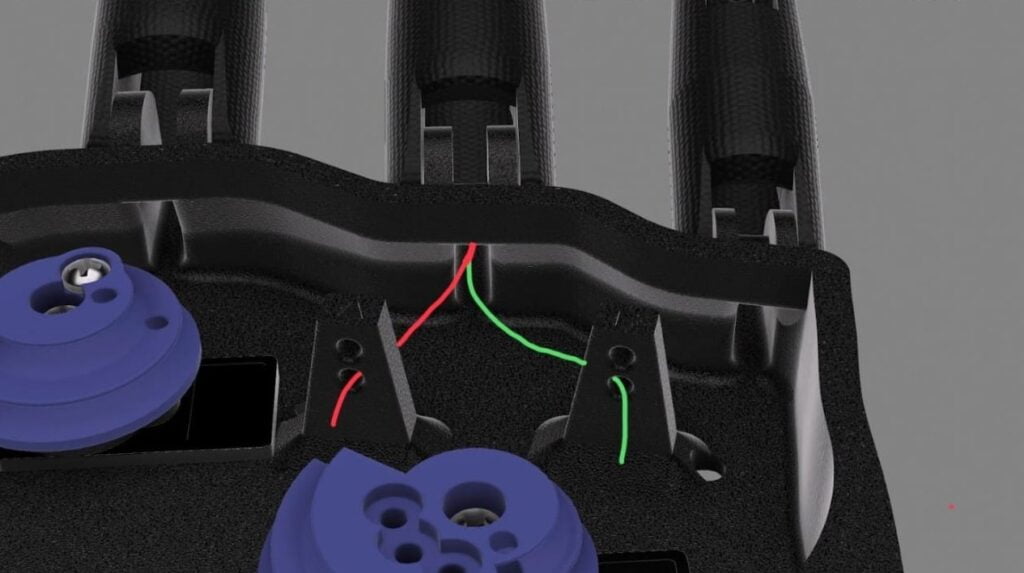
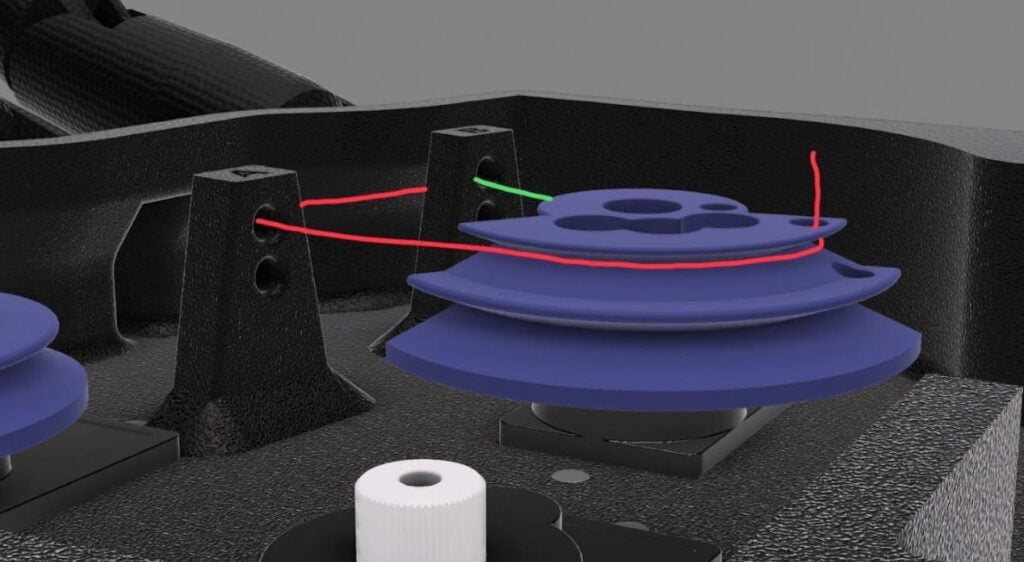
Then you should put the lines in the cavity as shown
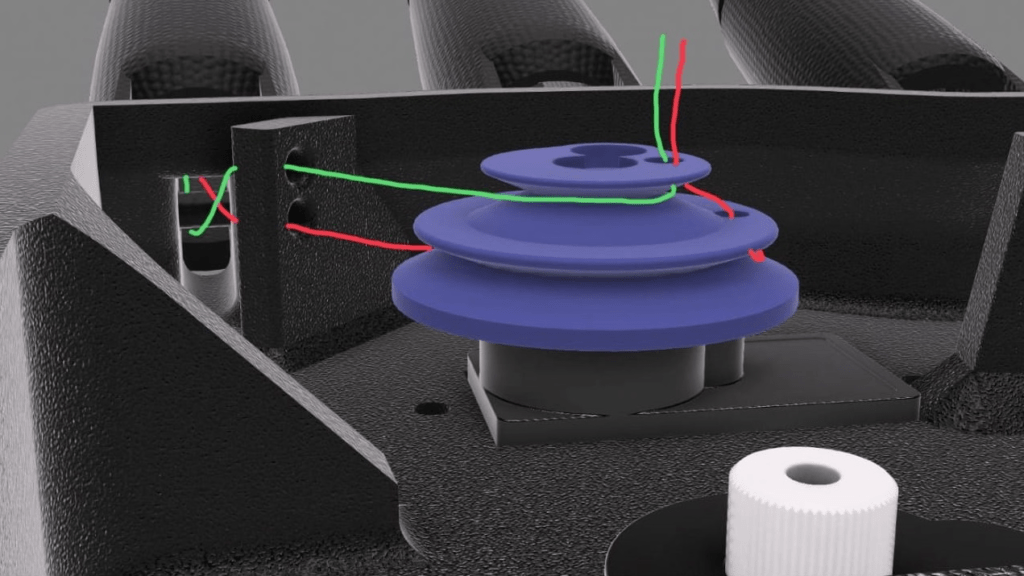
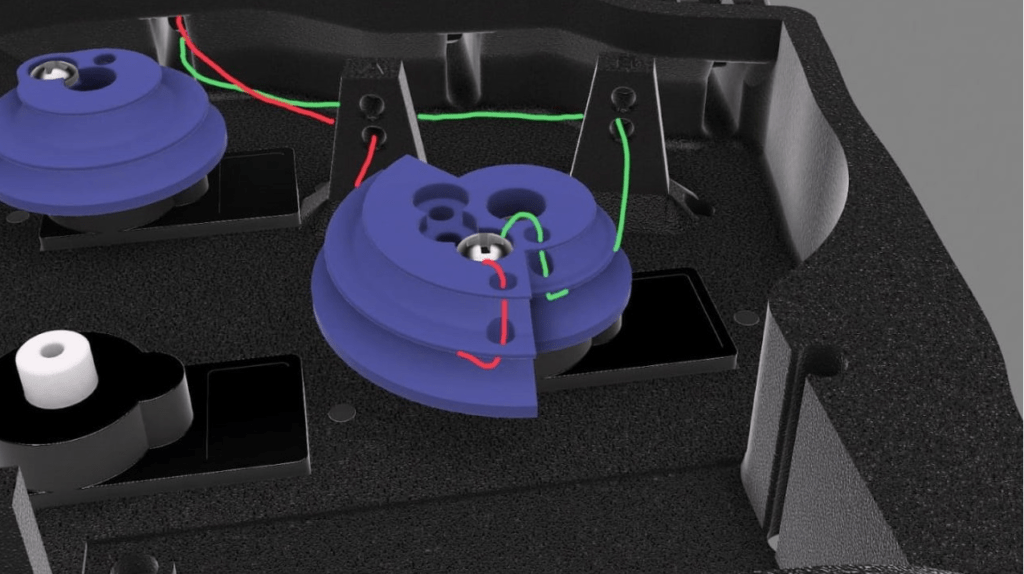
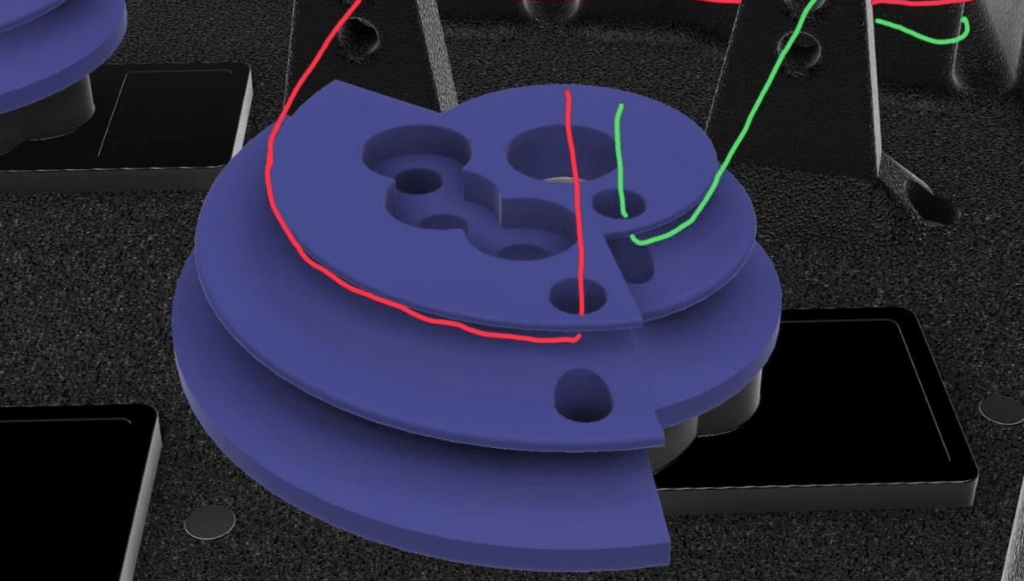
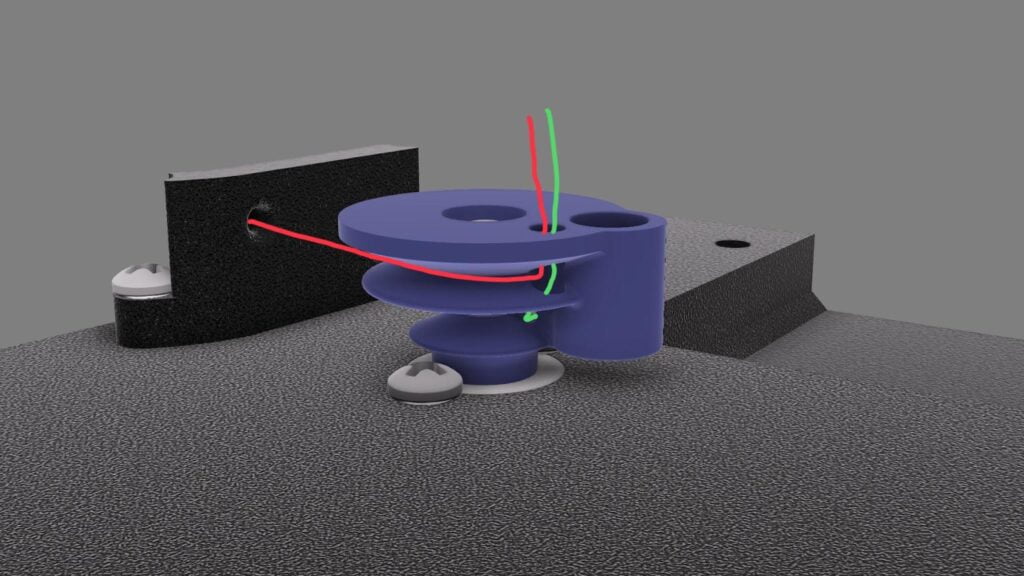
Then turn them around the pulley as shown
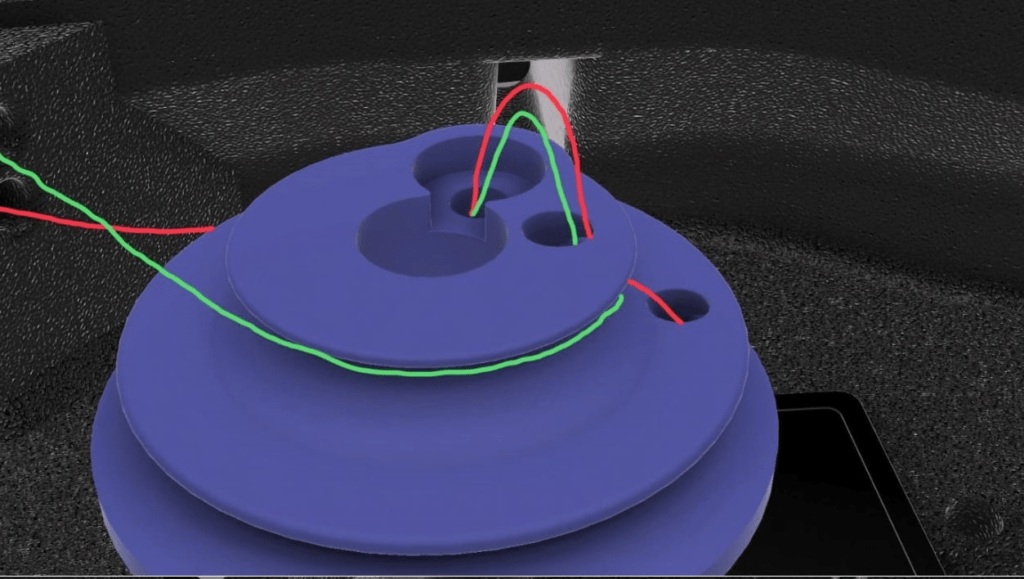
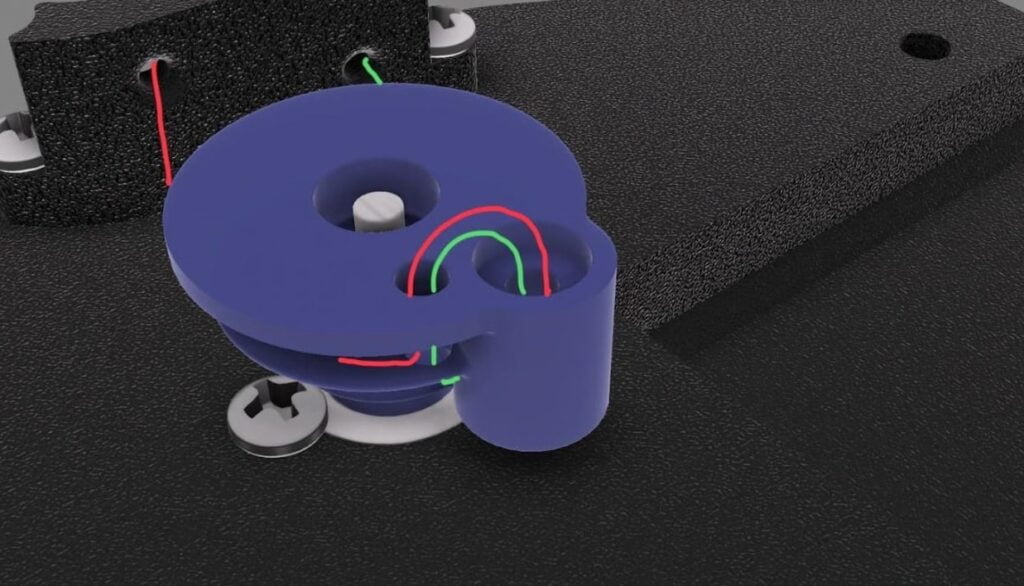
this is how it should look like from the other side
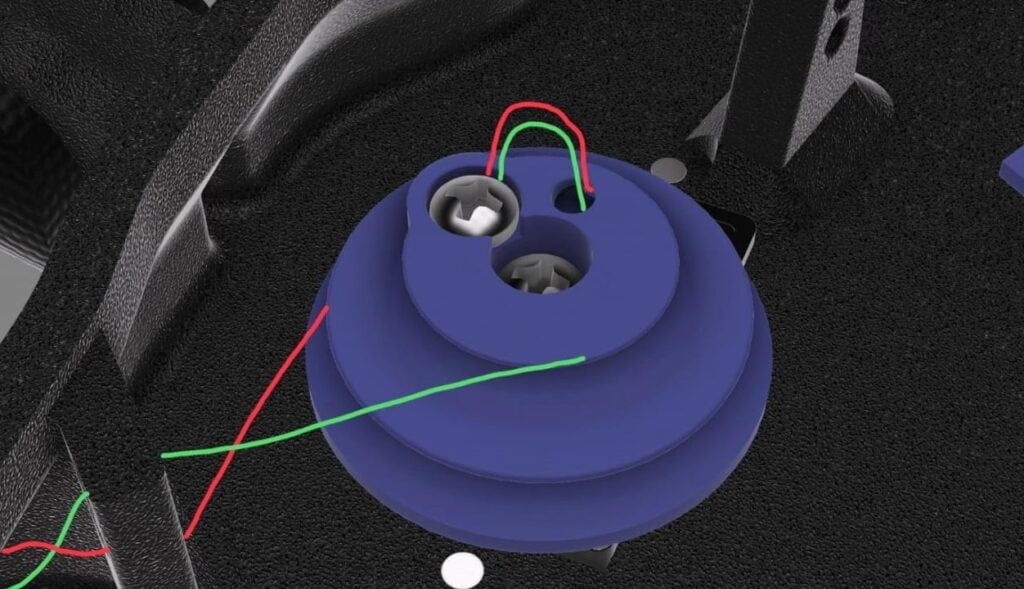
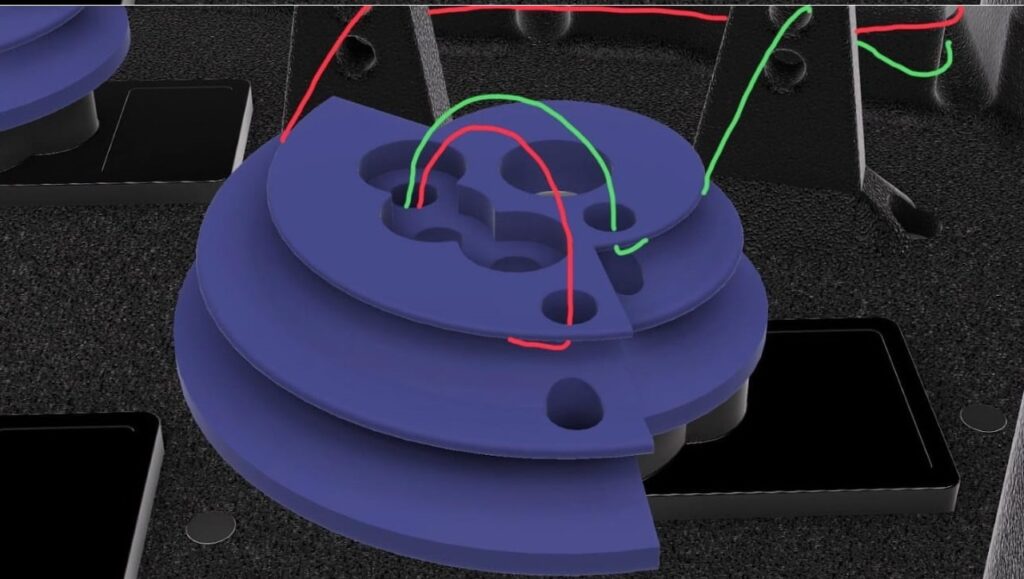
then put the ends of the line in the hole like this
Now, put a 3M 4mm screw inside as shown
Connect the electronics to the power bank so the servo motors can go back to their initial position.
Pull the “green” line from the tip of the finger and put a M2 8mm screw in the cavity
Now, pull the “red” line and insert a M2 8mm screw in the cavity.
Cut the lines at the tip of the finger after you insert the screws
Middle finger
The process of putting the line in the finger is the same as the index finger,
insert the lines in the cavity
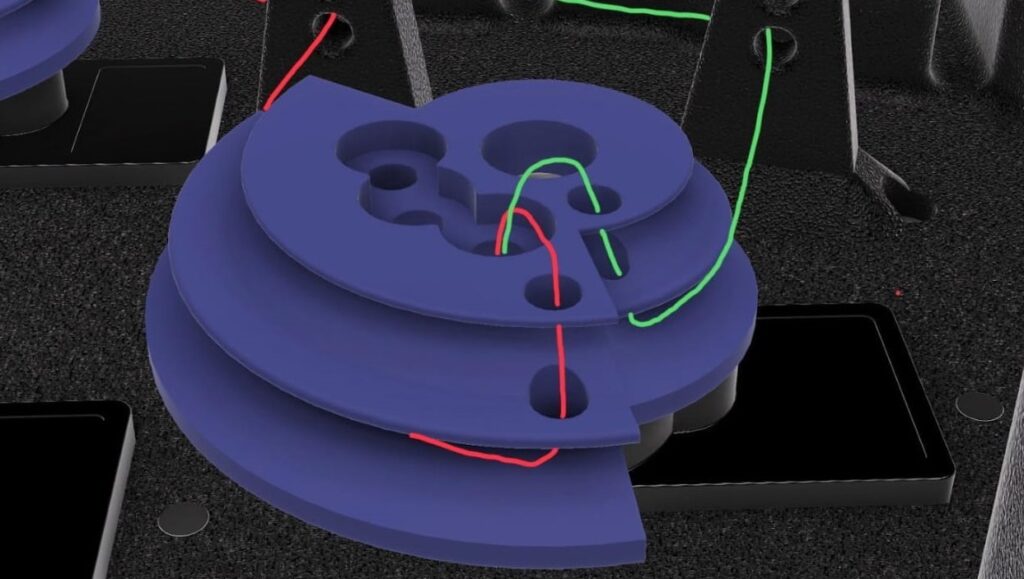
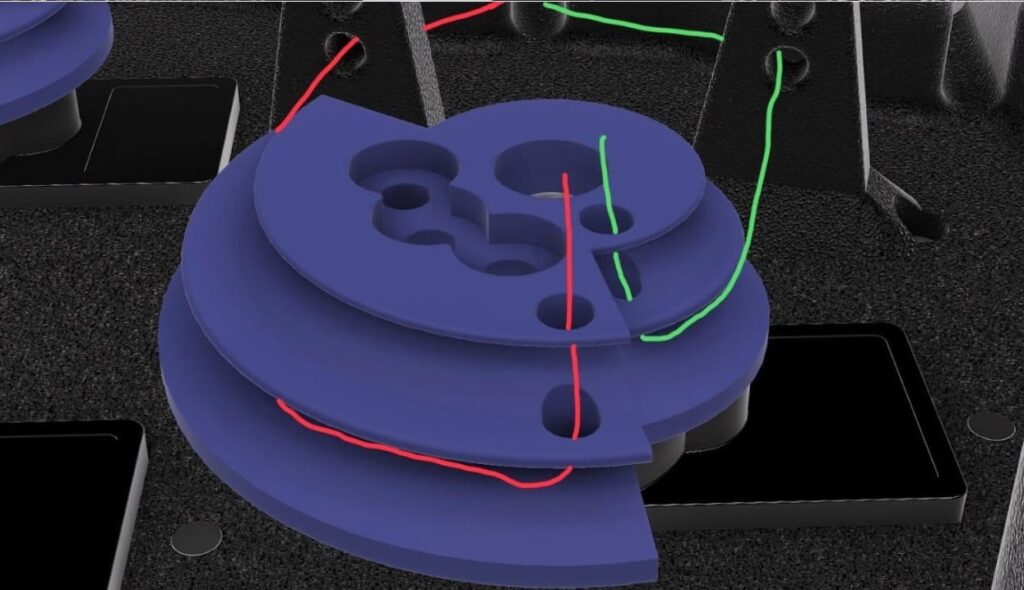
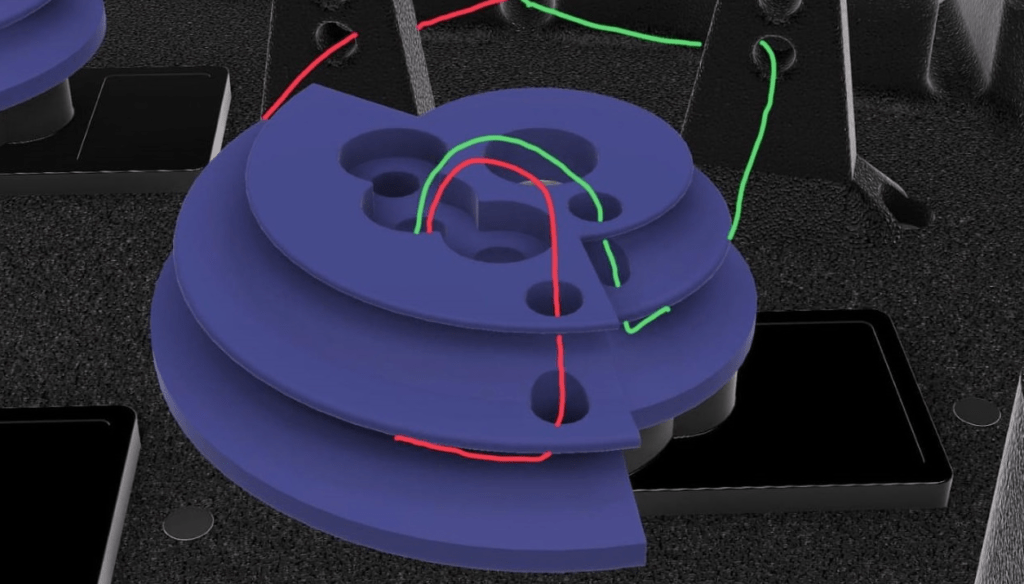
turn the “red” line around the pulley and through the cavity as shown
now turn the “green” line around the pulley and through the cavities as shown
and put a M3 4mm screw in the same cavity
Ring finger
(the middle finger steps are deleted here due to simplification of the instructions)
Put the lines in the cavity.
turn the “red” line around the pulley and through the cavities as shown
now turn the “green” line around the pulley and through the cavities as shown
now put the ends of the lines inside this cavity
and put a M3 4mm screw in the same cavity
Little finger
(the middle and ring finger steps are deleted here due to simplification of the instructions)
Put the lines in this cavity
turn the “red” line around the pulley and through the cavity as shown
now turn the “green” line around the pulley and through the cavity as shown
now insert the ends of the lines inside this cavity
and put a M3 4mm screw in the same cavity
Connect the electronic to the power bank so the motor rotate to it’s initial position.
Pull the “green” lines from the tips of the fingers one by one while putting M2 8mm screws in these cavities
Pull the “red” lines from the tips of the fingers one by one while putting M2 8mm screws in these cavities
cut the lines at tips of the fingers after you put the screws.
Palm
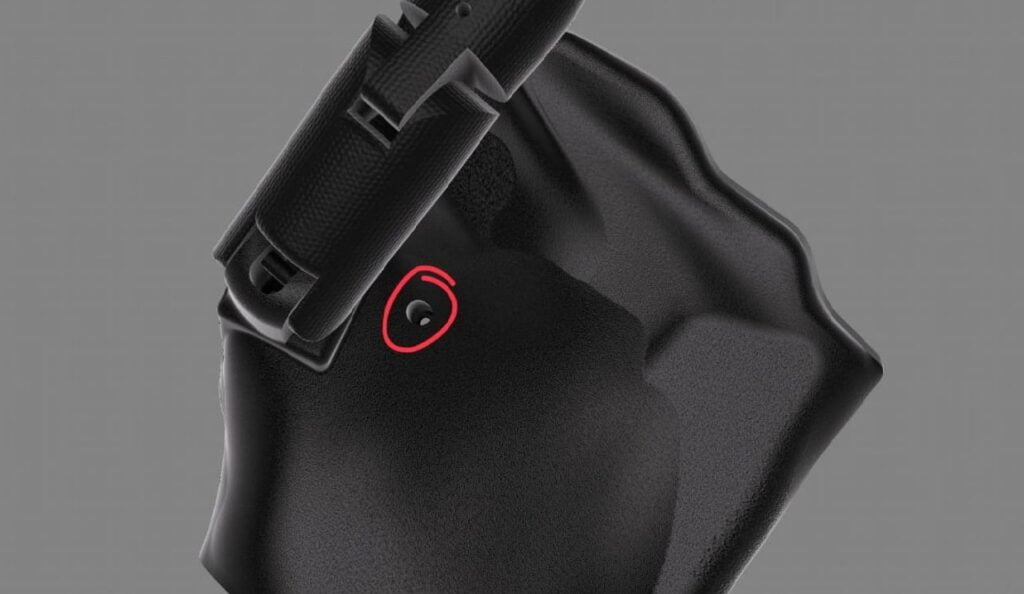
Put a M2 screw here
now, put a ball bearing here
how secure the ball bearing in place with two screws, put them as shown
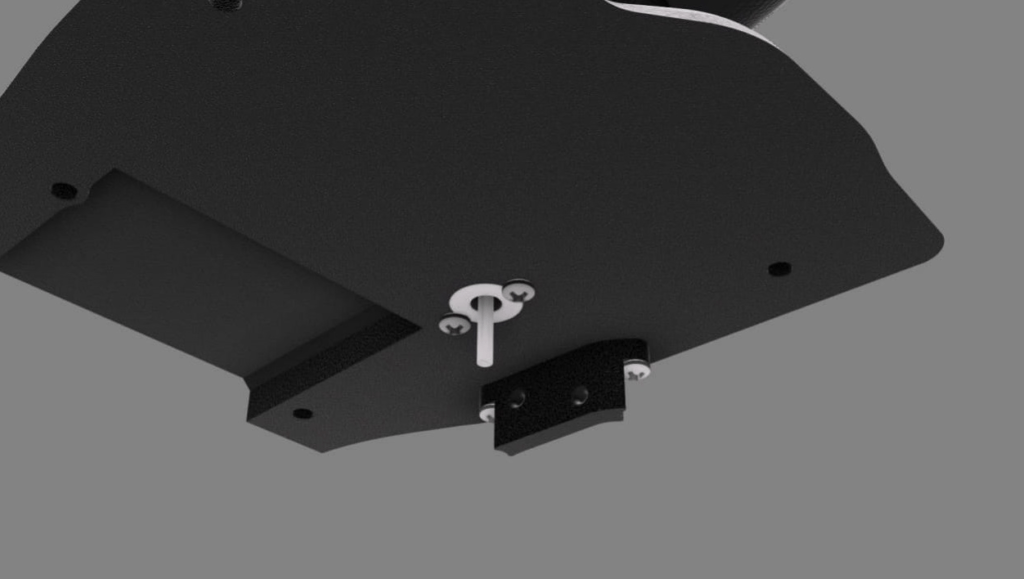
Put the line guide for thumb as shown
secure it in place with two M2 8mm screws, put them as shown
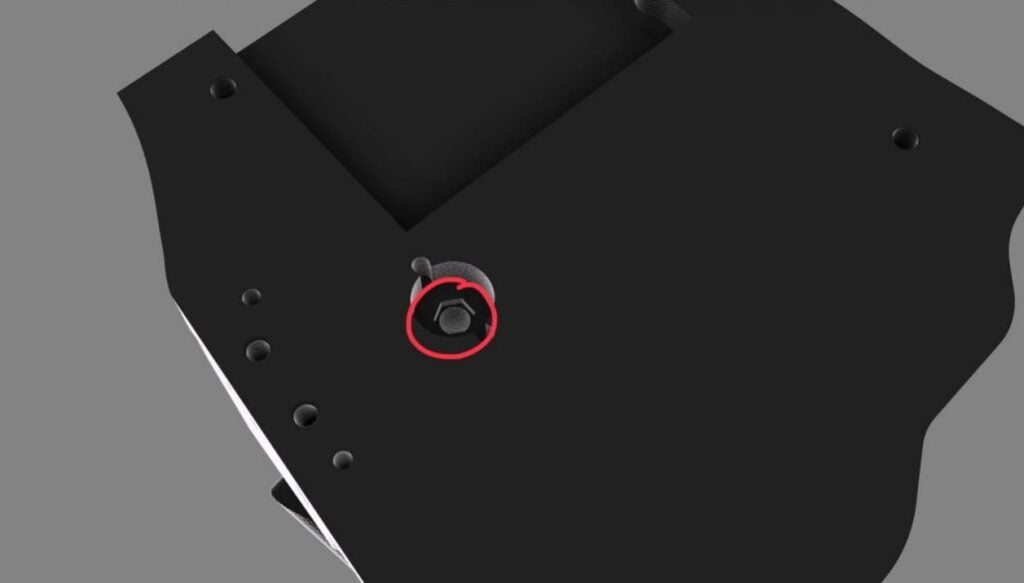
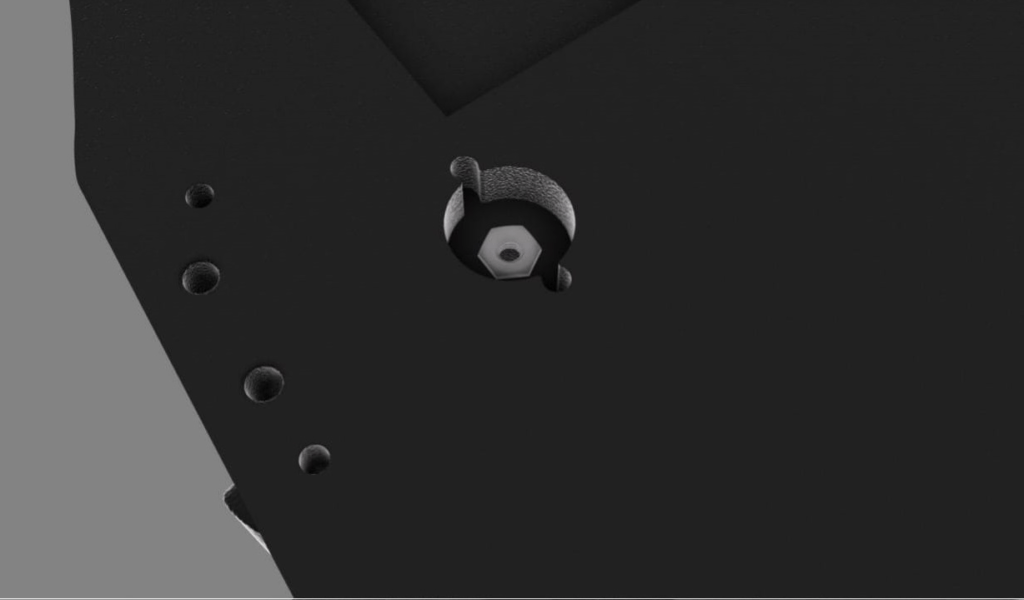
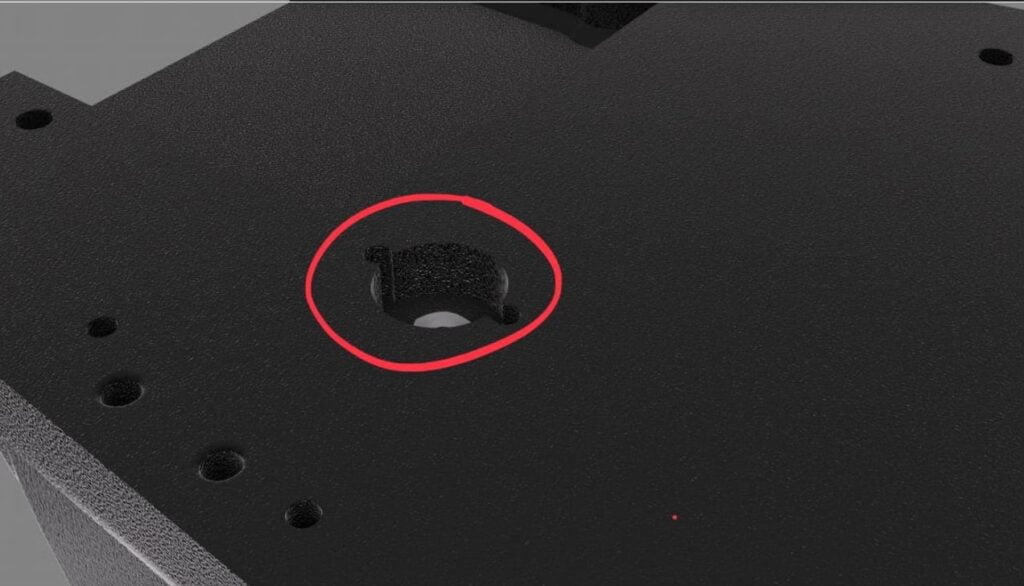
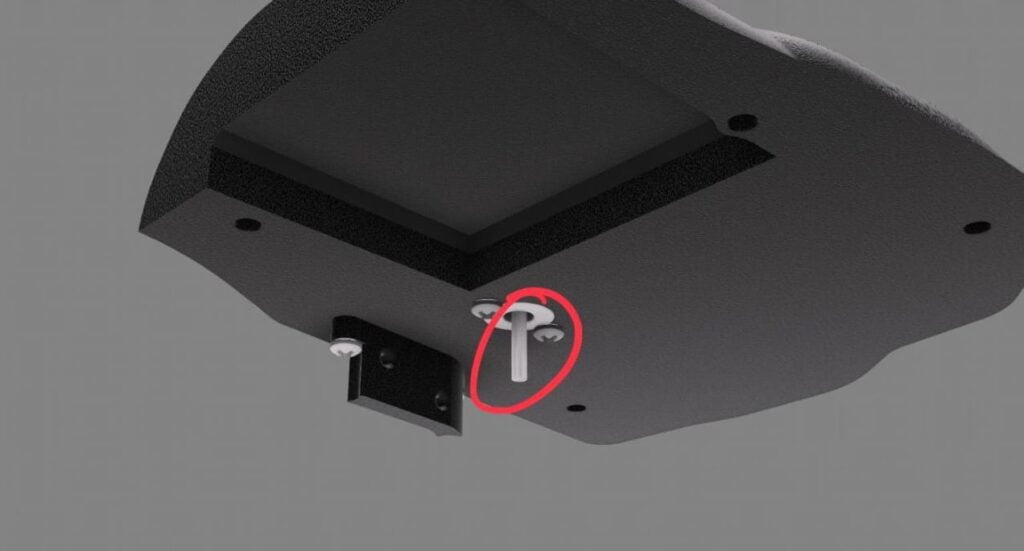
Now put an M2 14mm screw in this cavity
it will come out from the other side as shown
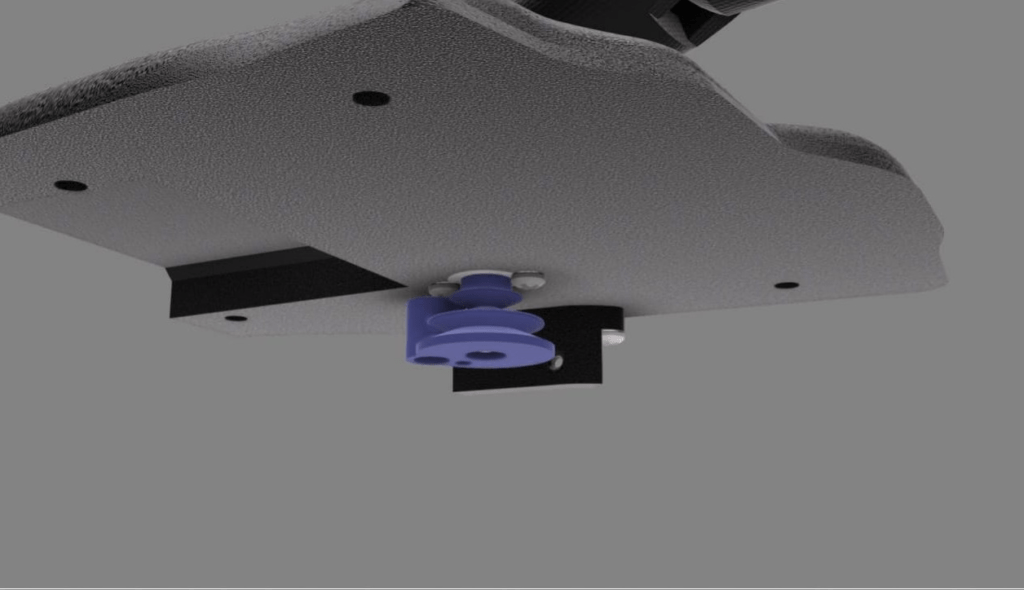
Now, put the pulley for the thumb through the screw like as shown
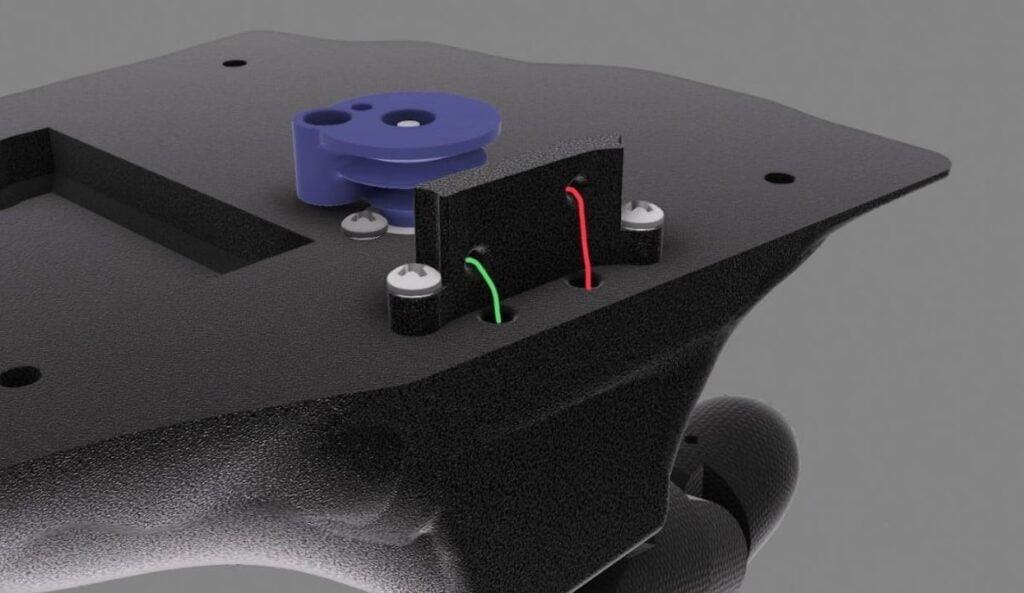
Now, put the line in the thumb simmular to the other finger.
Put the lines in this cavity
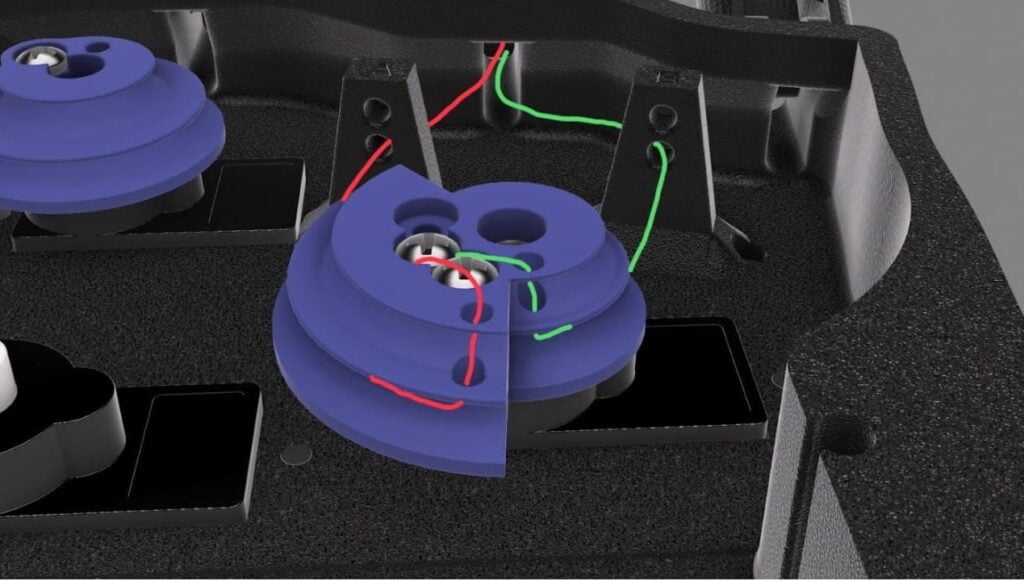
now turn the “green” line around the pulley as shown
From the other side it should look as shown
Now, turn the red line around the pulley
Put the lines in this cavity
Put a M2 4mm screw in the cavity
Pull the “green” line from the tip of the finger while inserting a M2 8mm screw in this cavity
Pull the “red” line from the tip of the finger while putting a M2 8mm screw in this cavity
Cut the line on the tip of the finger
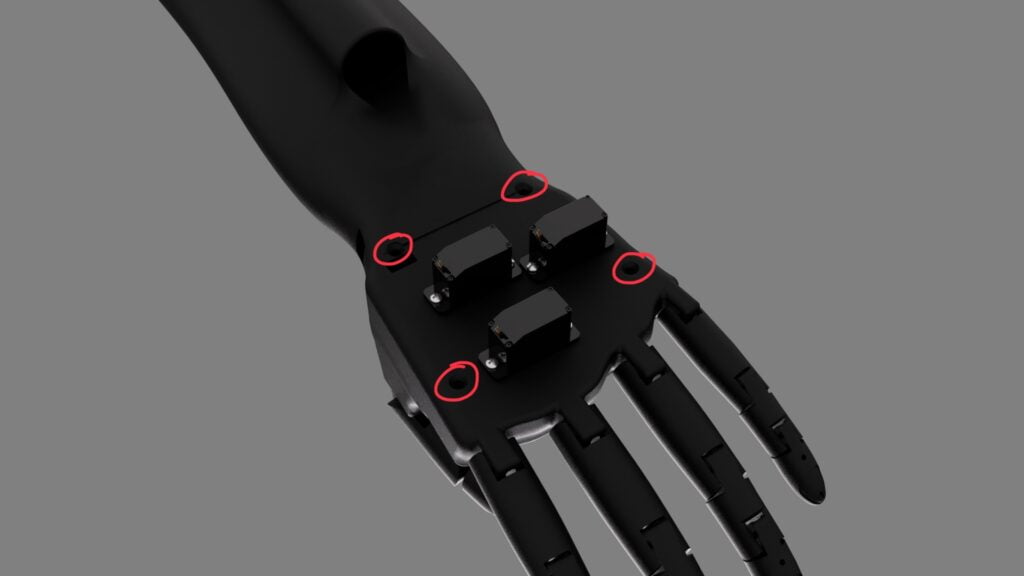
put the palm as shown
Secure the palm with these screws
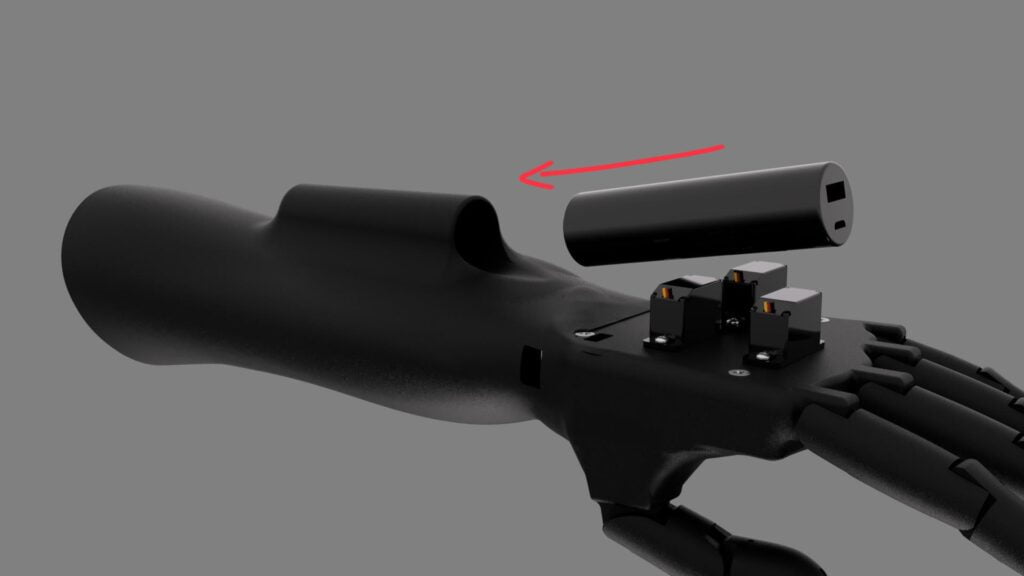
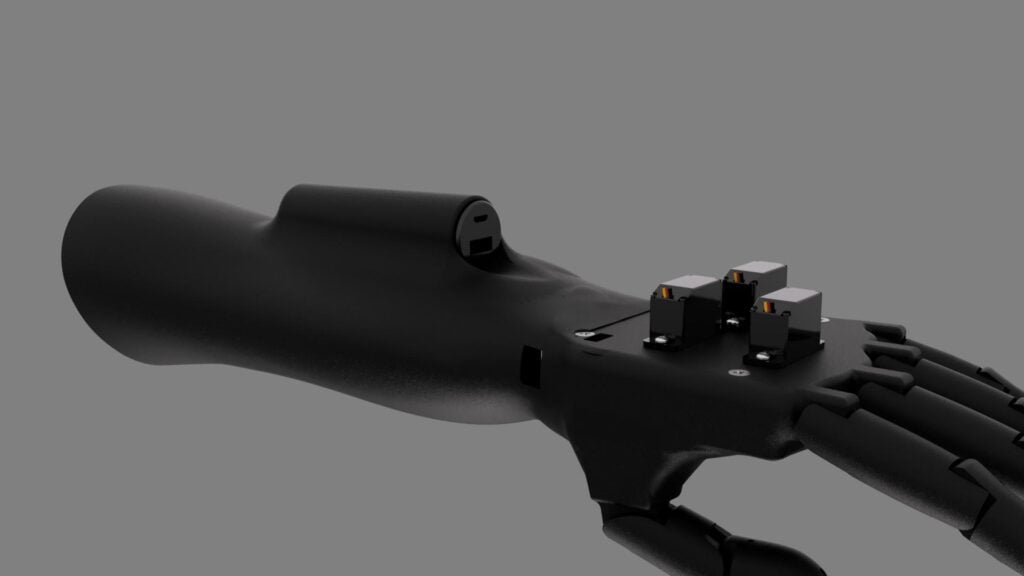
Put the power bank here
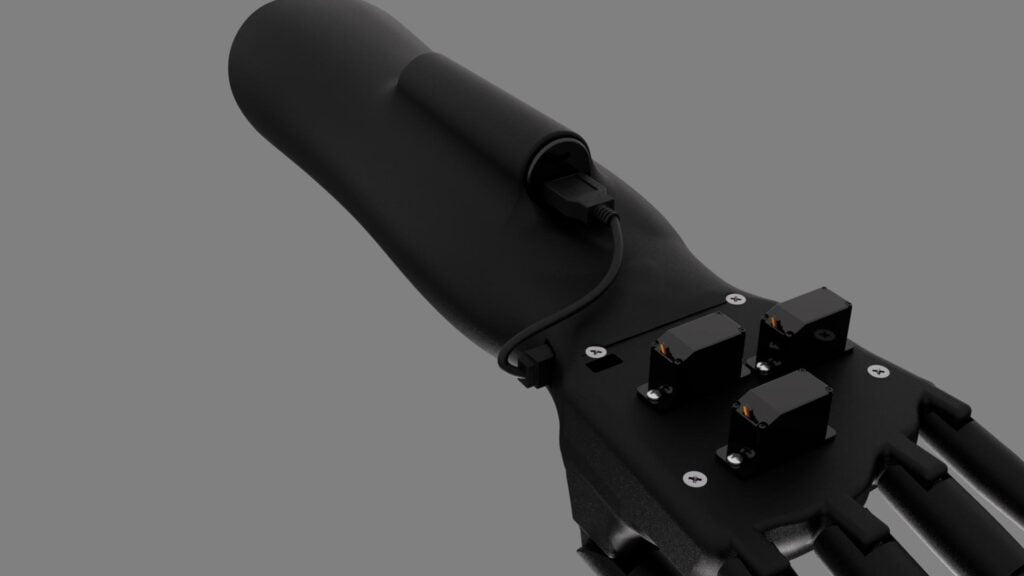
Now connect the power bank
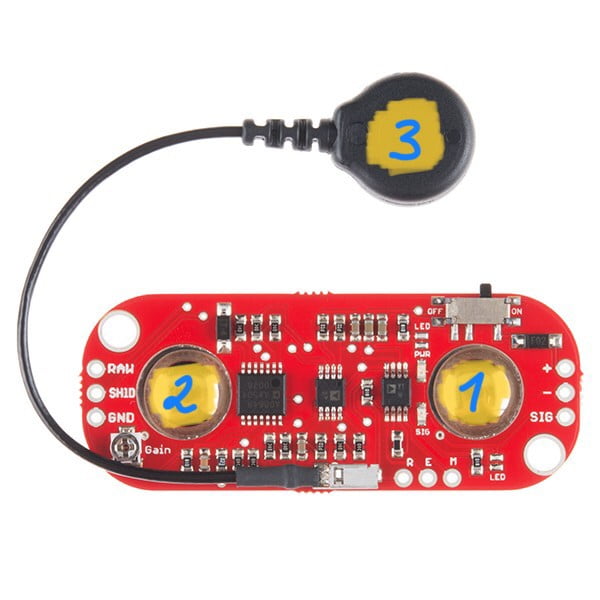
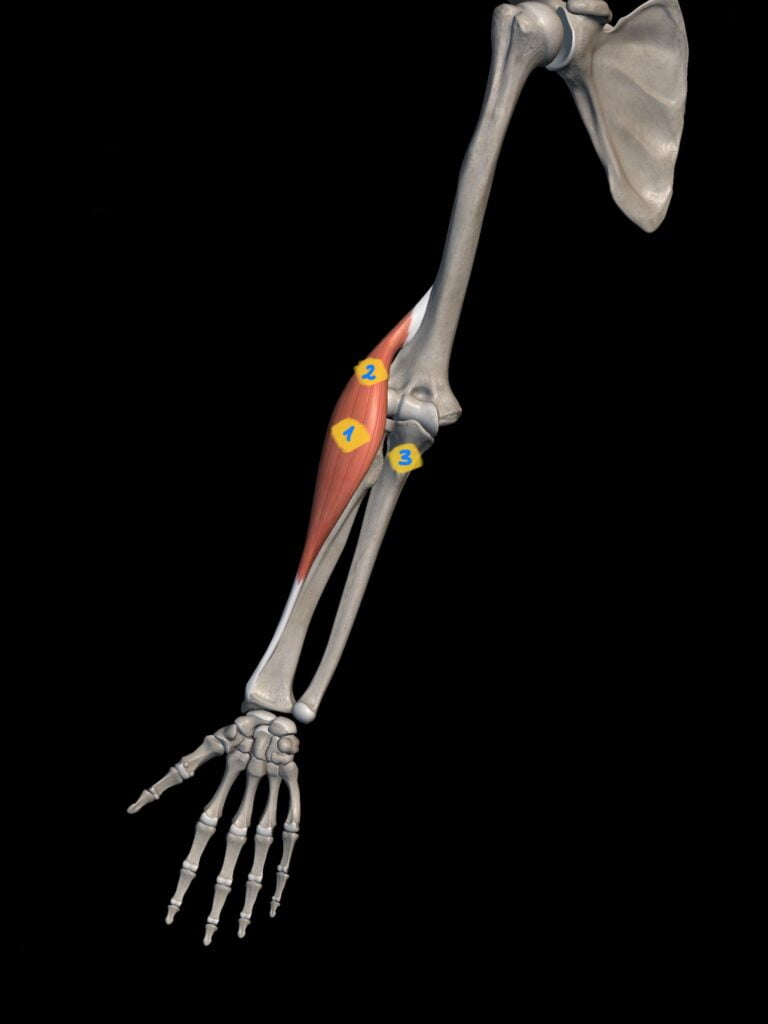
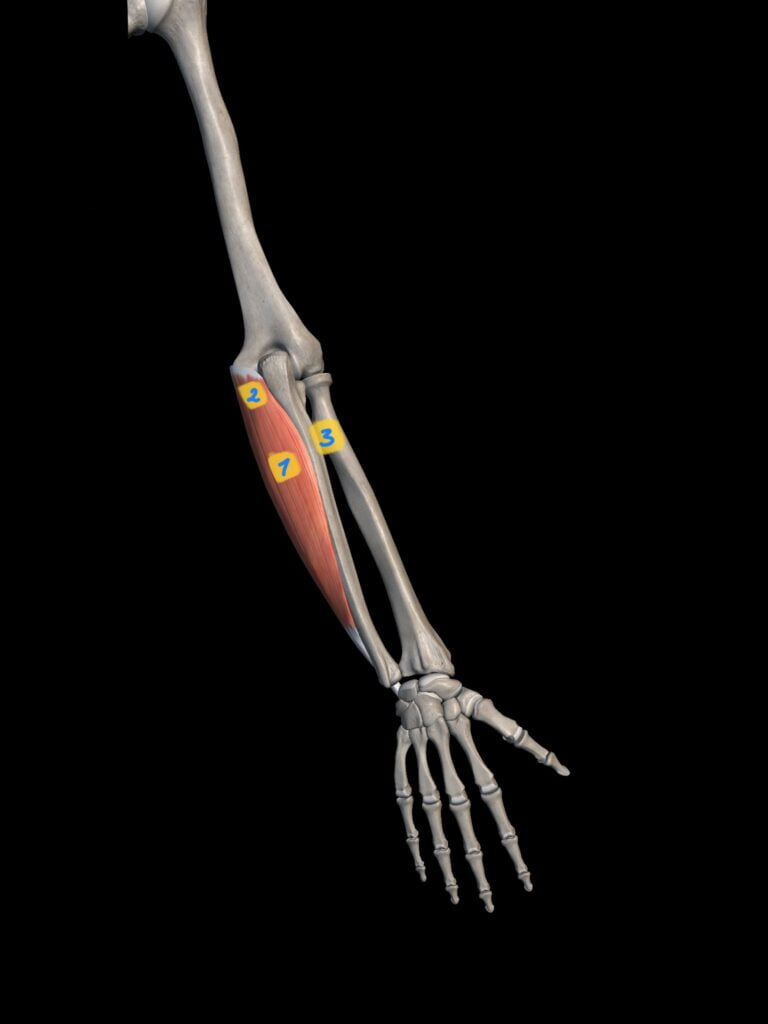
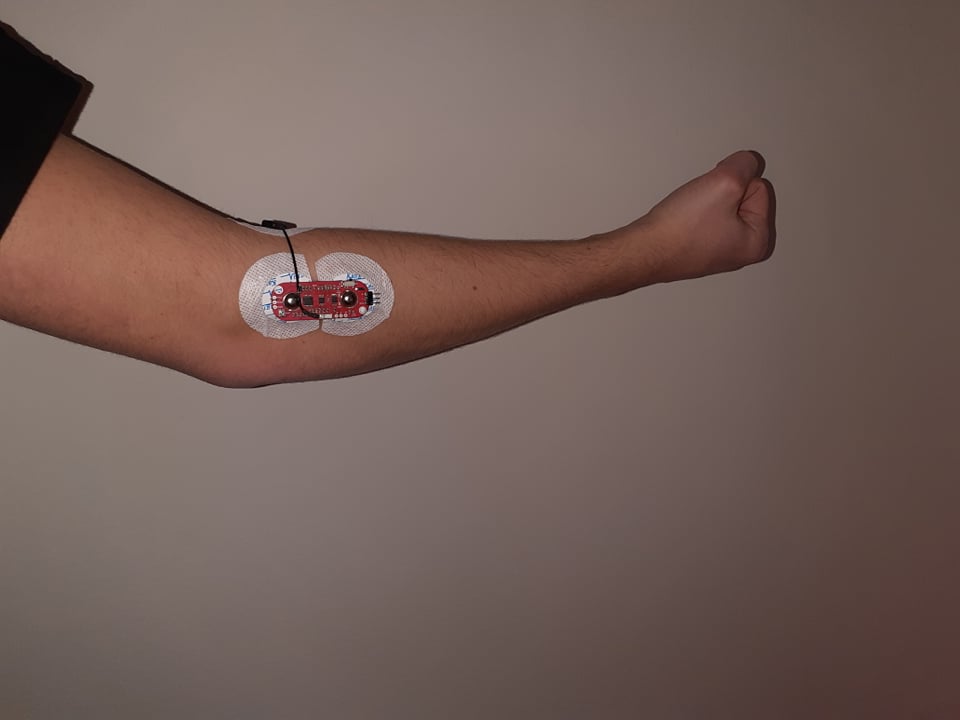
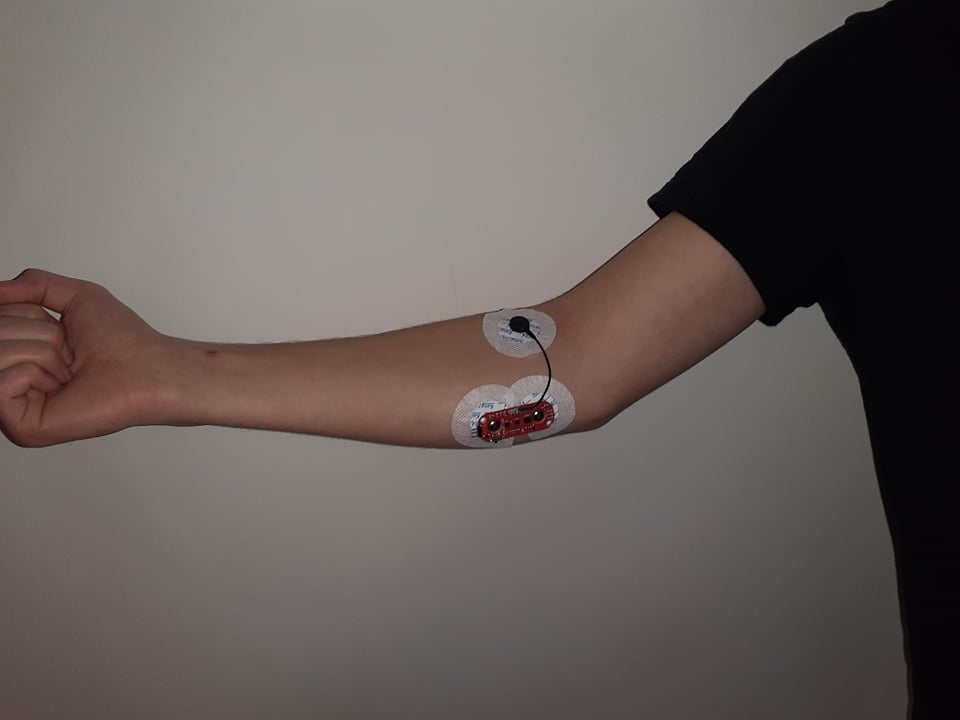
Attach the electrodes to the clips on the sensor, unwrap them and place them on your forearm. Depending on your muscle development, you can place the sensor on either side of the forearm:
Electrode placement:
No. 1 – In the middle of the muscle
No. 2 – At the end of the muscle
No. 3 – Away from the muscle
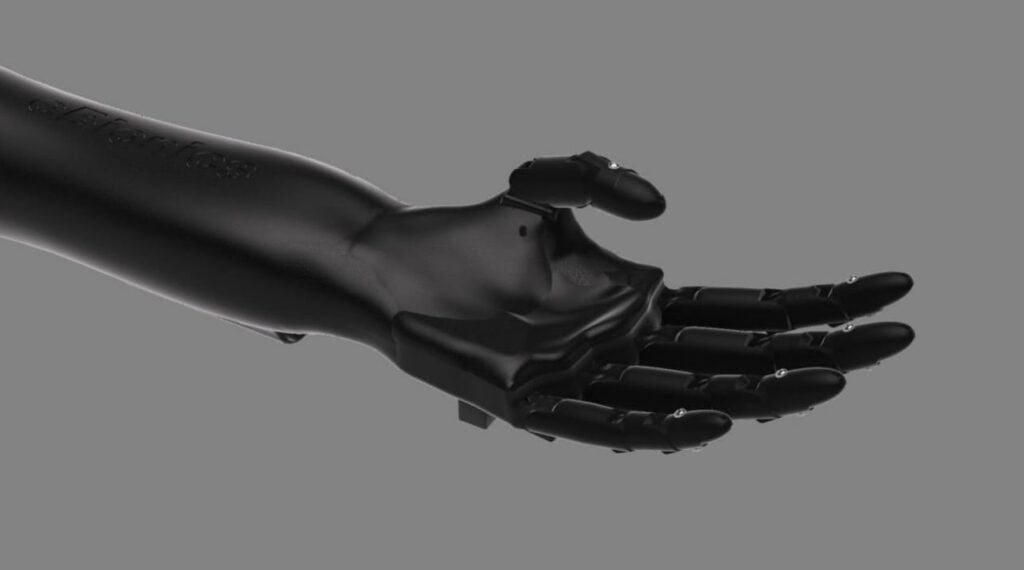
Congratulations! You have built the Venus Arm!

